Hey Friends !
I wanted to highlight some quick and easy phonics activities that I’ve been using. I tried to include lots of pictures so you could get as much detail as possible. If you are a first year teacher or even a seasoned teacher, I’m sure you can pick out one or two of these ideas to try this year. This post may be a bit long so feel free to scan through, read and save the parts you are most interested in. The first idea I am going to talk about are the Interactive Phonics Mats.
#1 KT Interactive Phonics Mats
You can also view them here: Interactive Phonics Mats
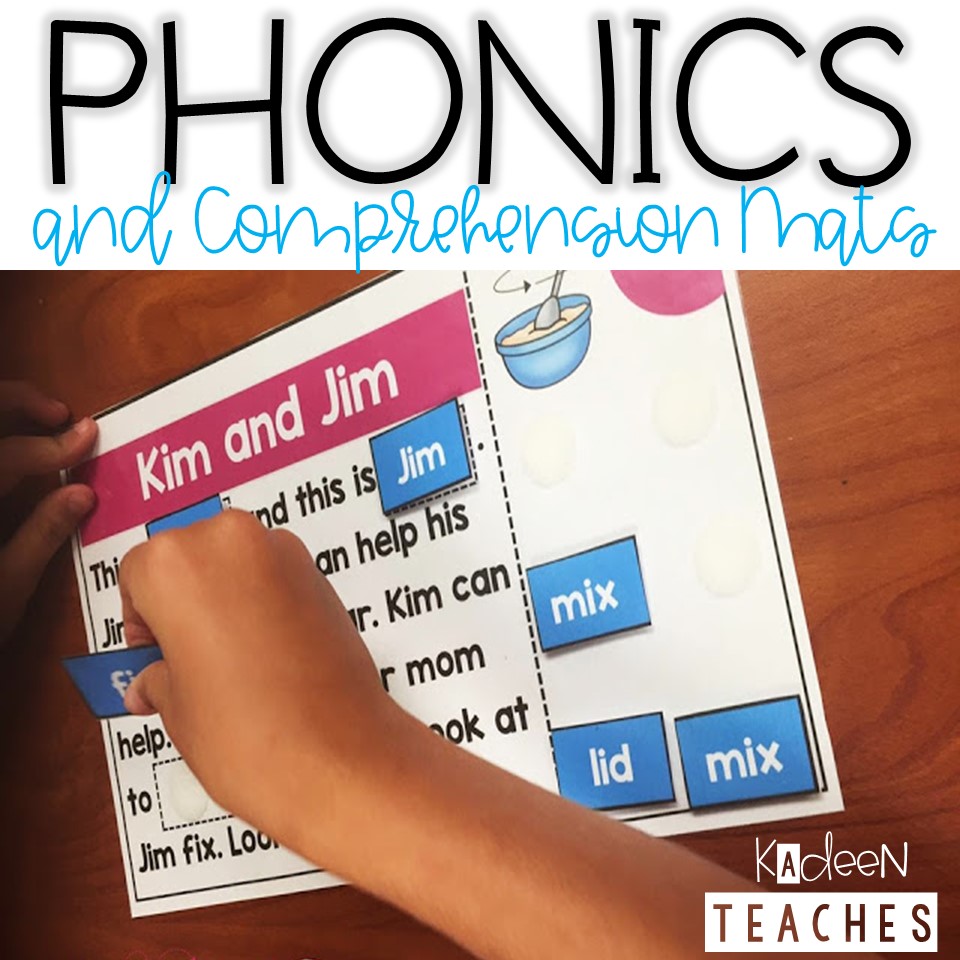
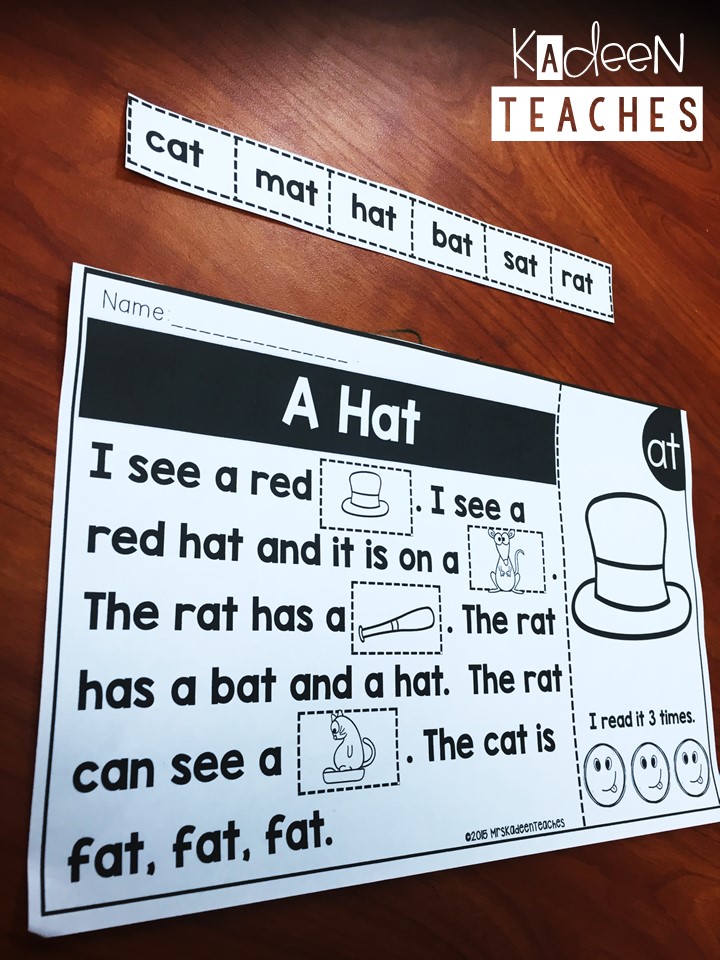
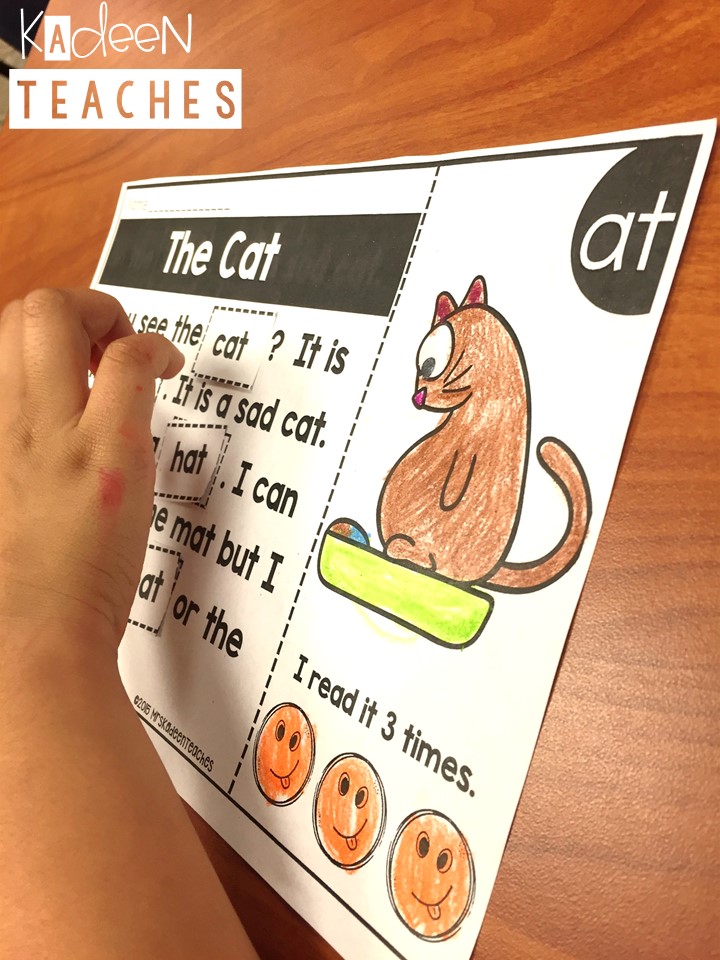
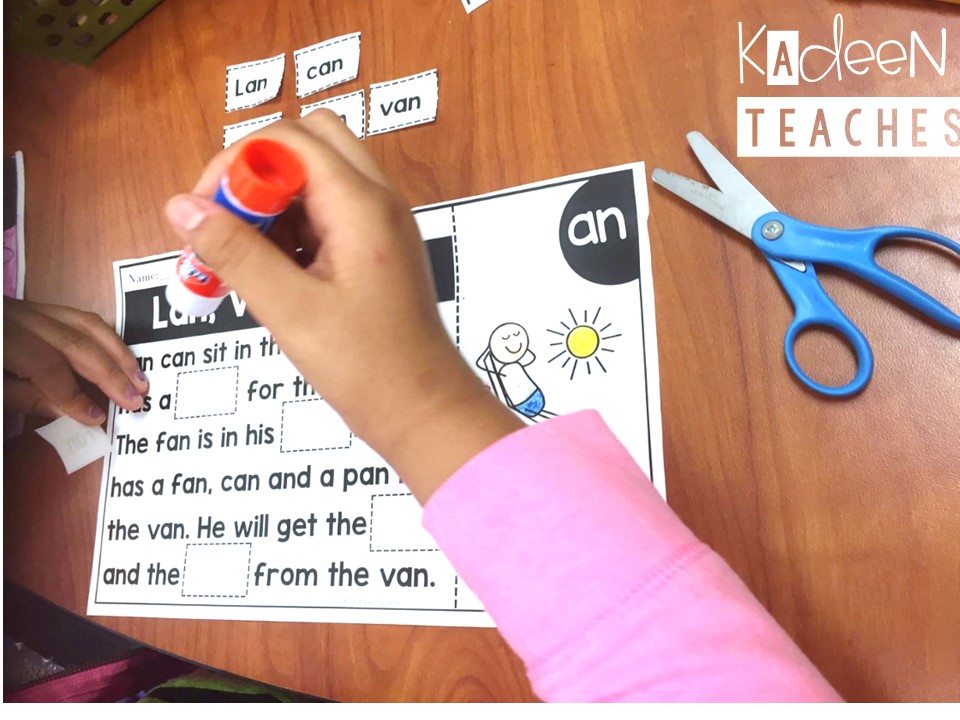
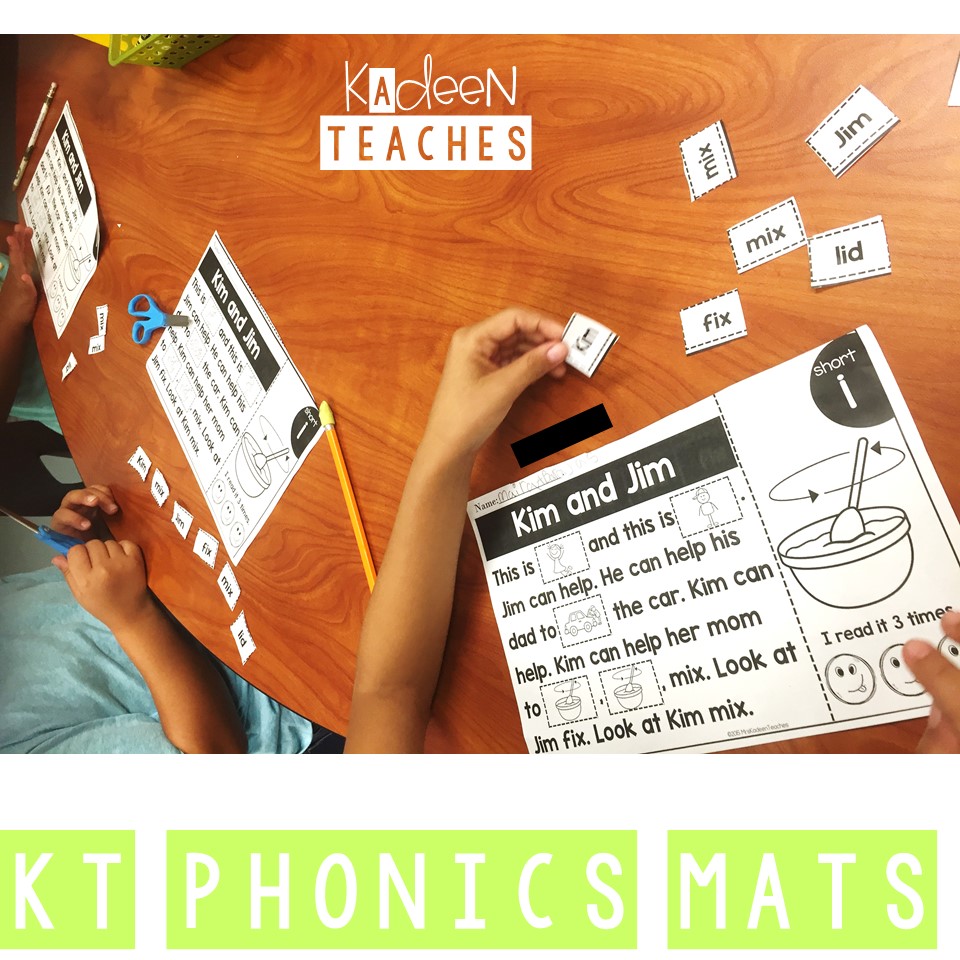
I can not tell you how much I love these. I started using these with one of my ESOL students and it was so amazing to see him smile at the fact that he was actually reading the words and understanding the sounds. These phonics mats were created for the purpose of having students read the patterns they are learning in context. I realized this was one of our biggest struggles. While they could spell the words, write them and read them in isolation, they struggled identifying the same words while reading their little readers. This was something we definitely needed more practice on and so the center mats were perfect for this purpose. With the Interactive Phonics Mats they get to apply the skills they are learning and have the opportunity to read and re-read for fluency. Mats are used both at small group and also at centers. Giving them multiple opportunities to practice and feel confident in their abilities .
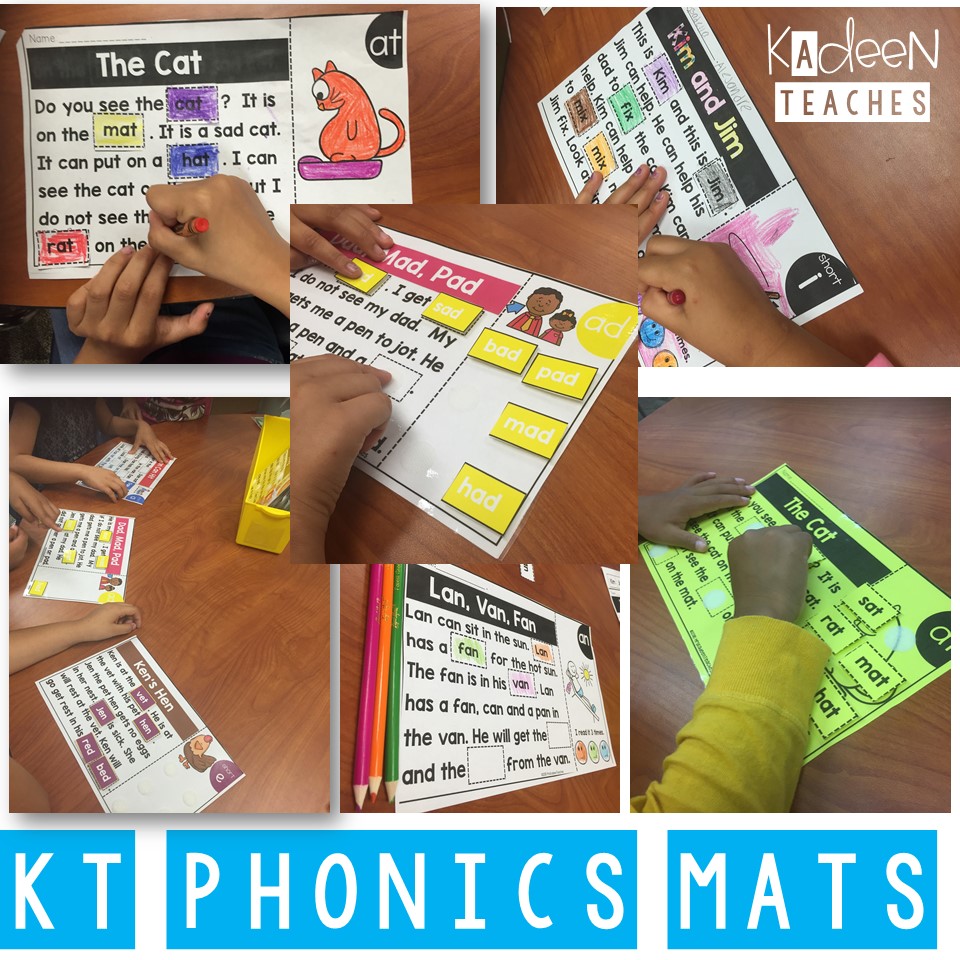
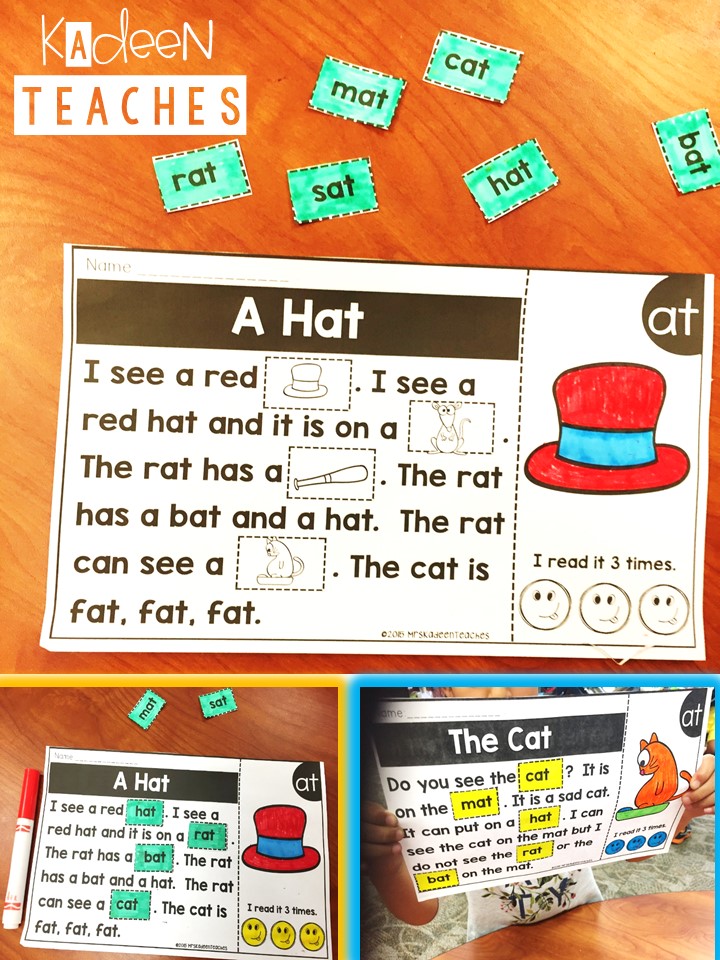
Here we are at small group with the Kim and Jim story you see above but this version has picture help. You can easily differentiate with these mats. They absolutely love these. They ask for them all the time. Sometimes I sit and do a few myself just so I can feel like a kid again…lol.
Mats with picture help are used at small group and then mats with no picture help are used at centers. This forces them to actually think about word usage and meaning as they practice at center time. I love these for partner reading. Kids also get to grab a bucket of interactive mats to read during silent reading.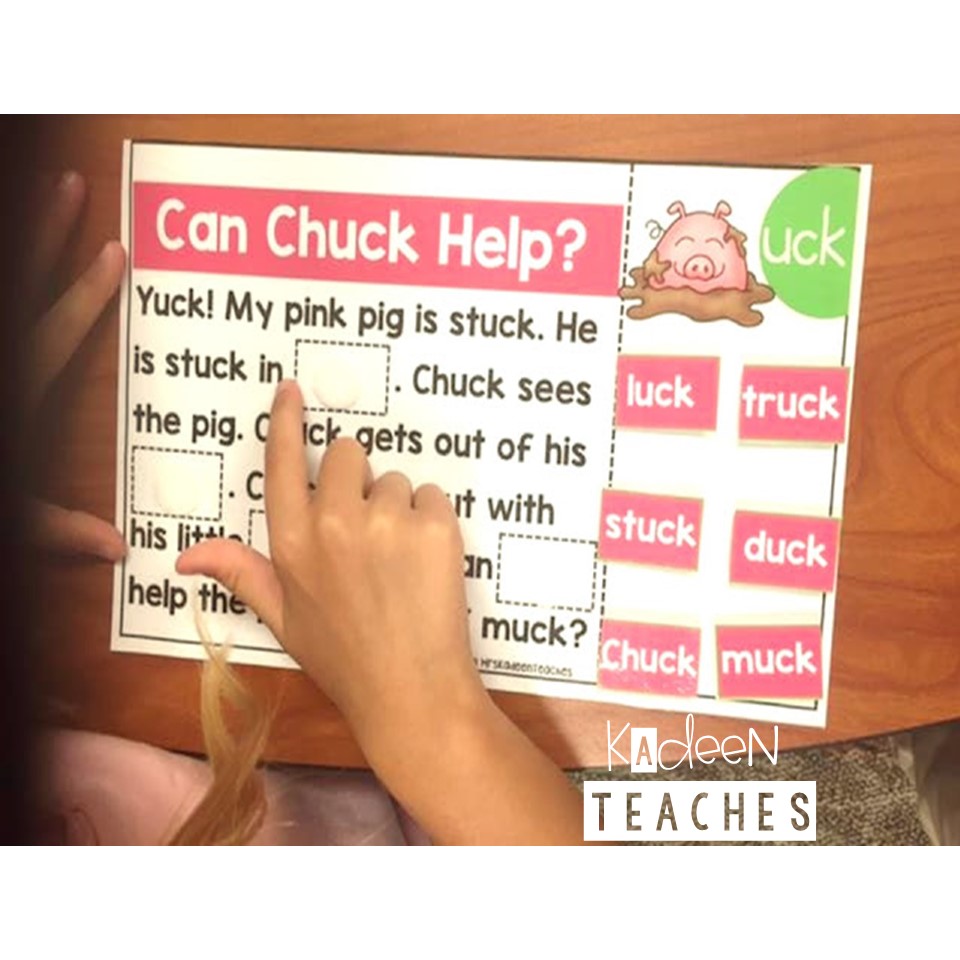 The pictures that you see are mainly from the cvc/word family bundle . We start out by reading the words on the side of the mats first before we start reading the story. Then they read each simple sentence and choose the correct word that makes sense.
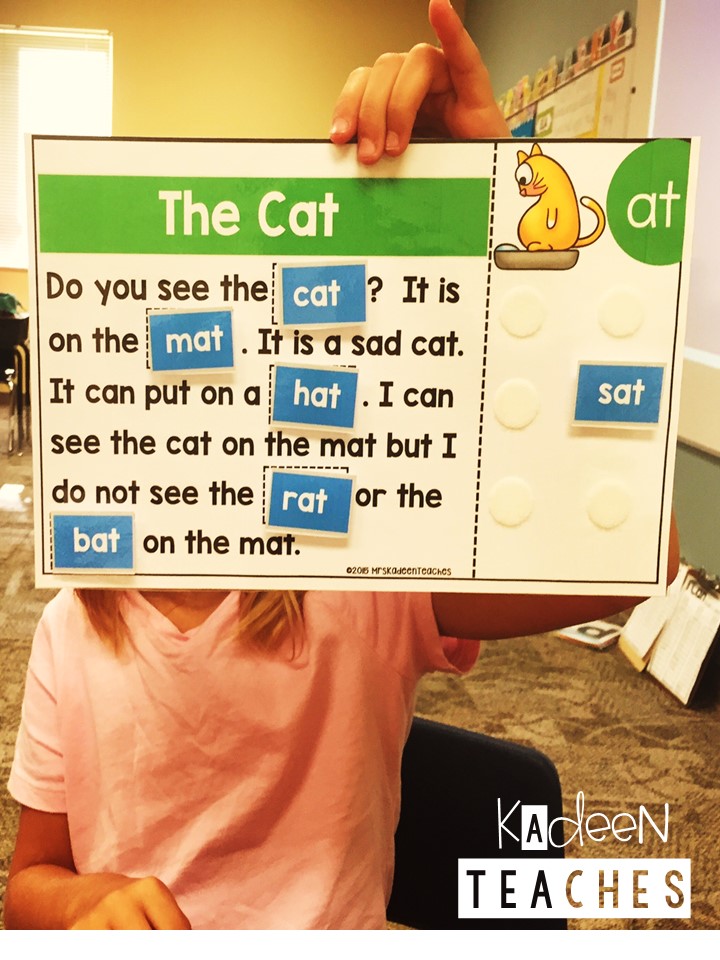 I love the fact that students can manipulate the pieces on the board so that if they place a word in the wrong spot, they can always move it and try again. It’s important to highlight to them that they need to stop at each period mark so they don’t just keep reading on and on without stopping at the end of each sentence. These are self storage mats so there is no running around looking for missing pieces. Everything gets stored right on the mats.
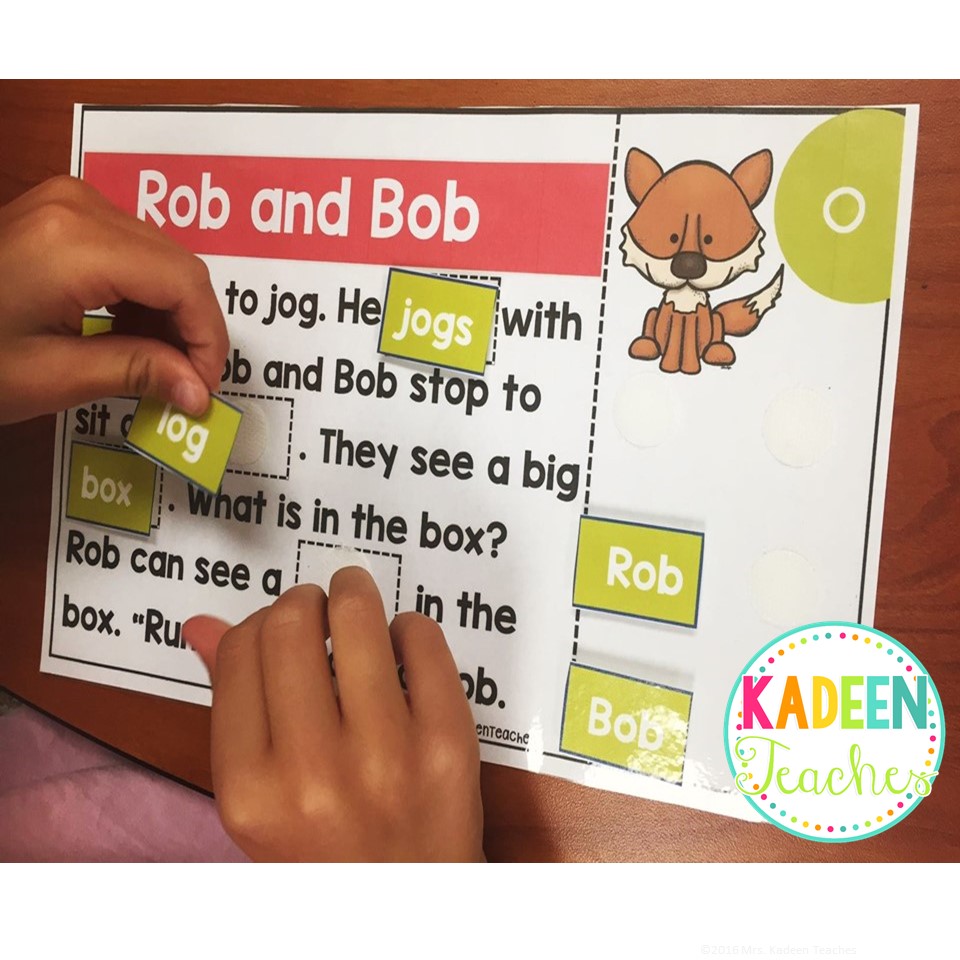 Also for my kiddos, I had to tell them to call the empty space “blank”. As they read, they got to that empty space and got stuck, like awww…. what do I call this? You may not have this problem but I wanted to mention it because it is something we had to address at our small group. The mats do take a bit of time to put together if you are going to use for centers so make sure to set some time aside to get them prepped and ready to go. Summer is a great time to prep your KT Phonics Mats. I asked some very helpful little ones to help me cut and add stickies to our mats. They were more than willing.
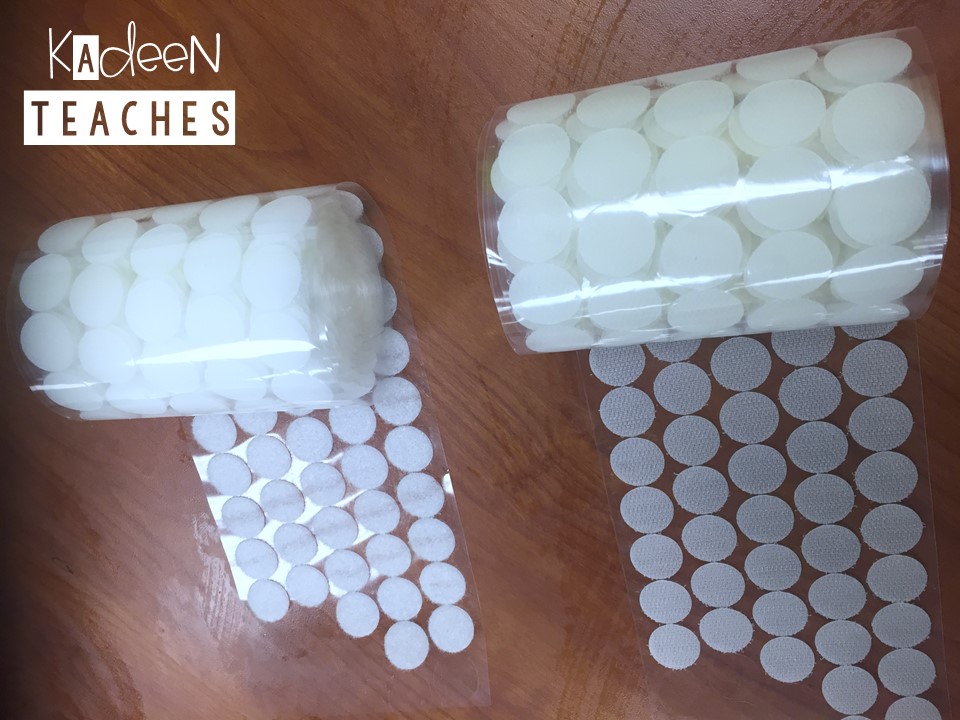
You are going to need lots of velcro . I ordered these jumbo rolls from Amazon. You can get them here too. They are a life saver. Get the velcro coins here: VELCRO COINS
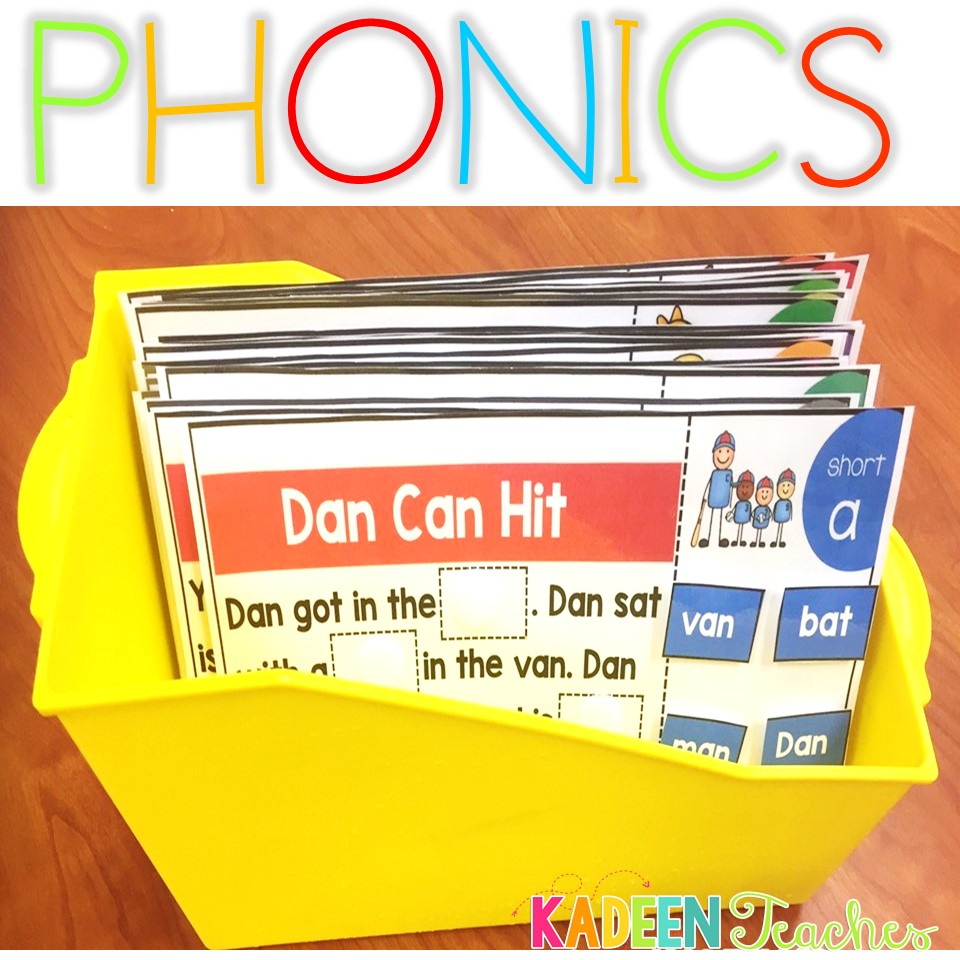
I usually store all of these in ziplocks but then I figured I could store them in book buckets too. Why not? With storing them in the book buckets, it was easy for me to place them in our reading area and that way they could go grab them at anytime.
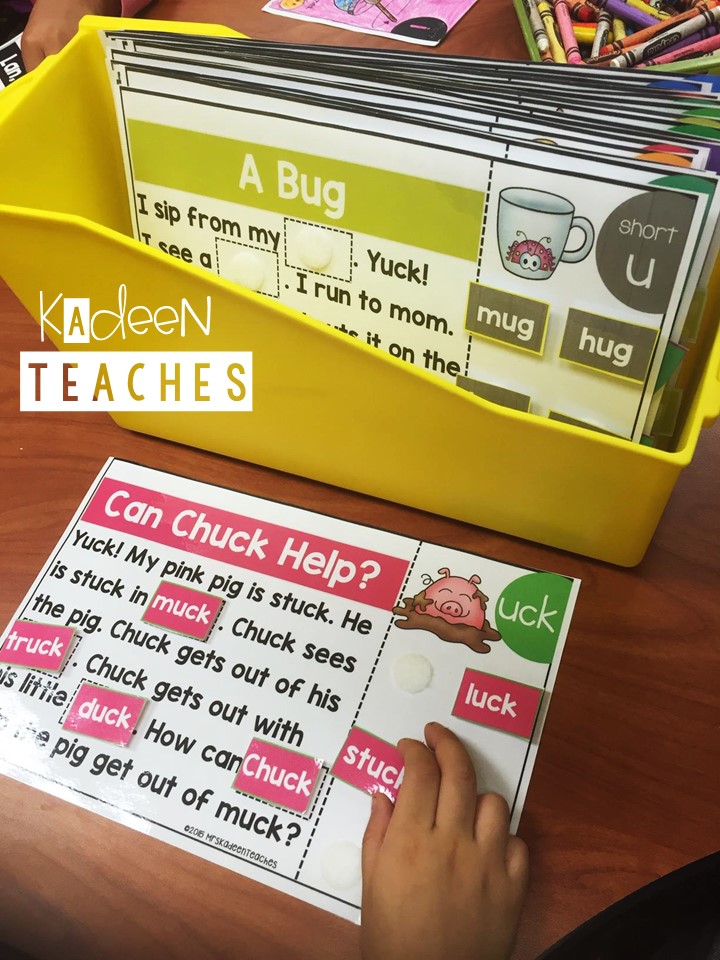
I love just using our colorful mats but if you are not able to print all this color, you can just copy the blackline masters on astrobrights and use in the same way.
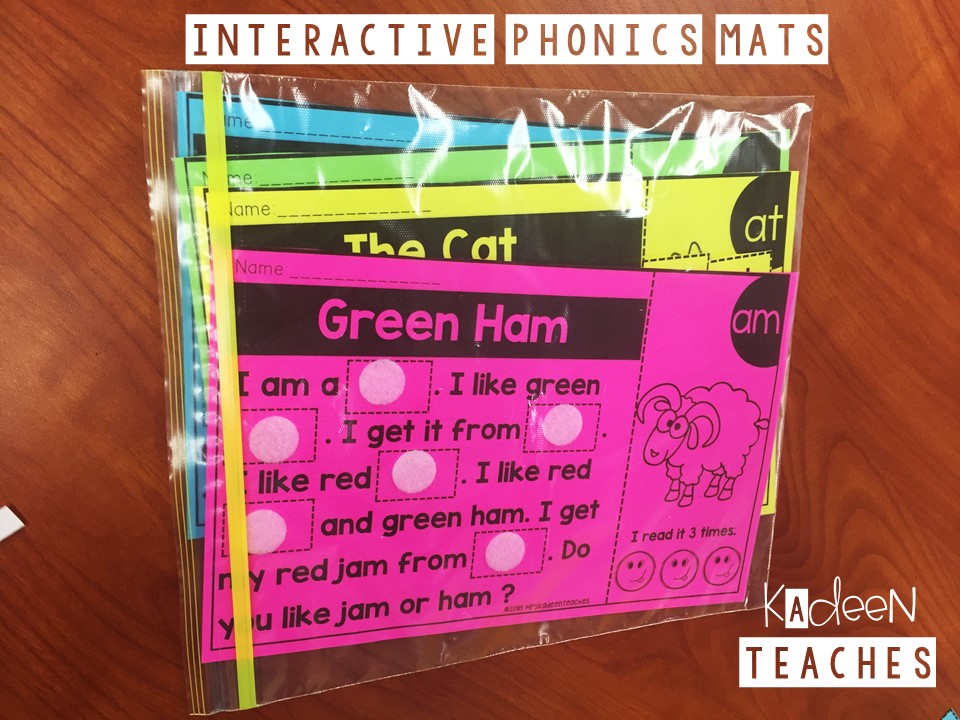
These have been perfect for our center time rotations and comprehension station. I do not put out all the mats at once. Put out the mats with the skills you are teaching. If you have high groups that just need a refresher now and then, you can let them use the mats as needed but I would not put out all the mats at once for my struggling readers. Start in a sequence. Put out the Word Family Interactive Mats first and then maybe the Digraph Mats and so on.

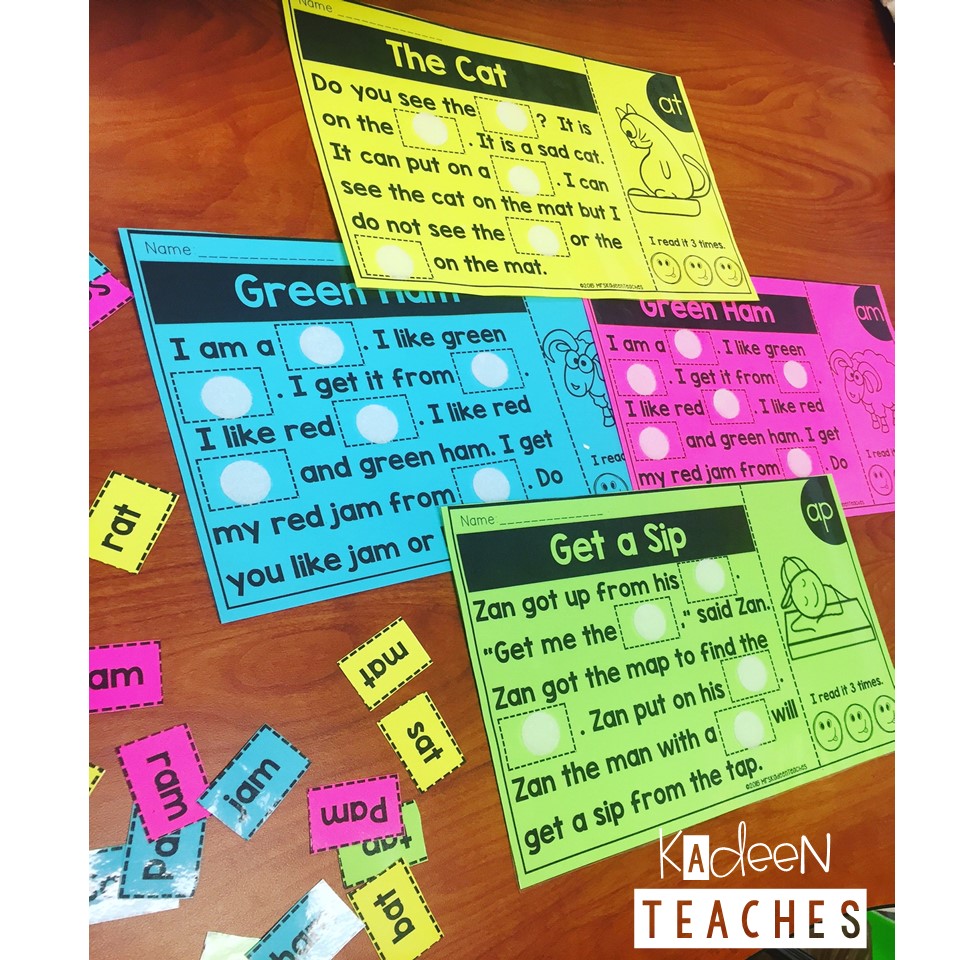
Grab the bundle here: INTERACTIVE PHONICS BUNDLE This big bundle includes: word families, blends, digraphs, diphthongs, long vowels, inflectional endings and other sounds.Your phonics routine could be as simple as going over the target sounds with a white board
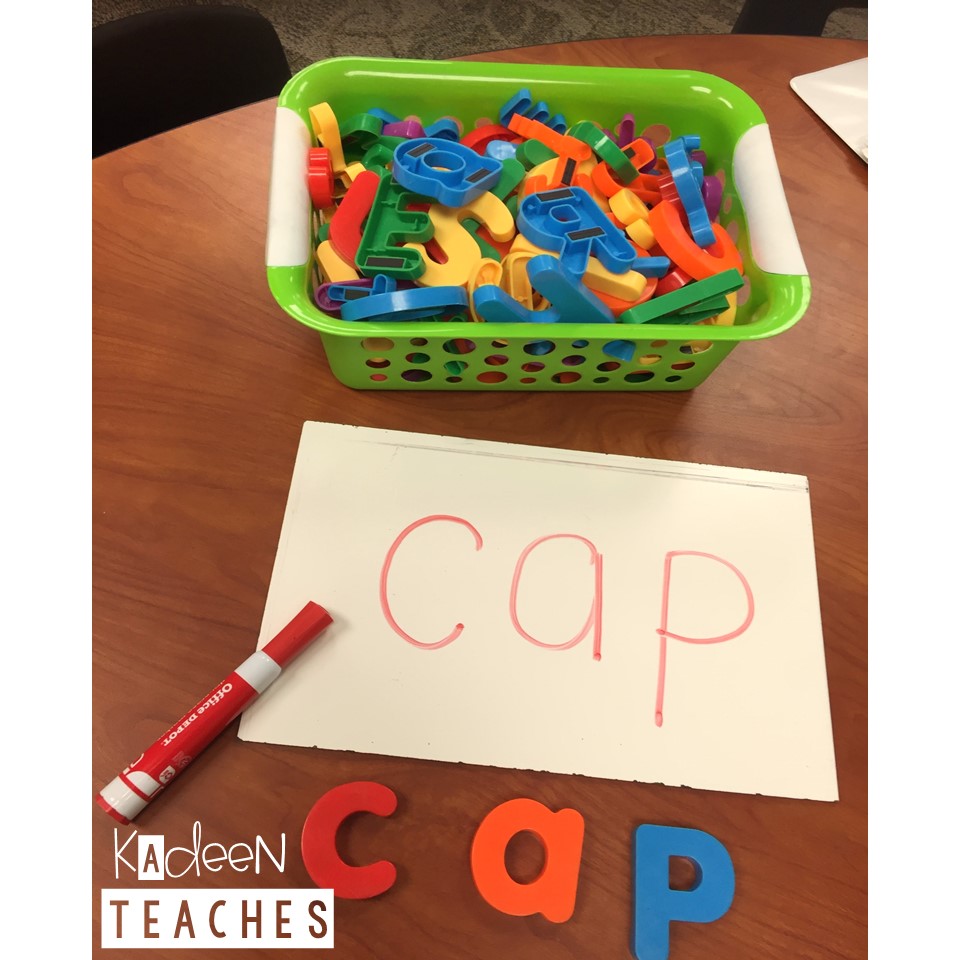
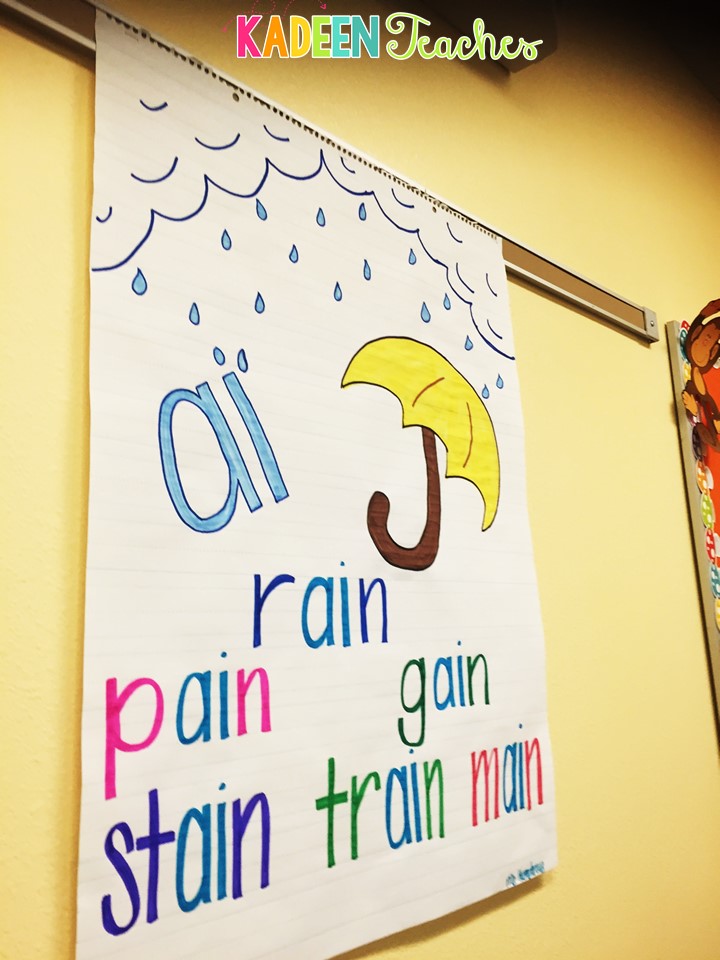
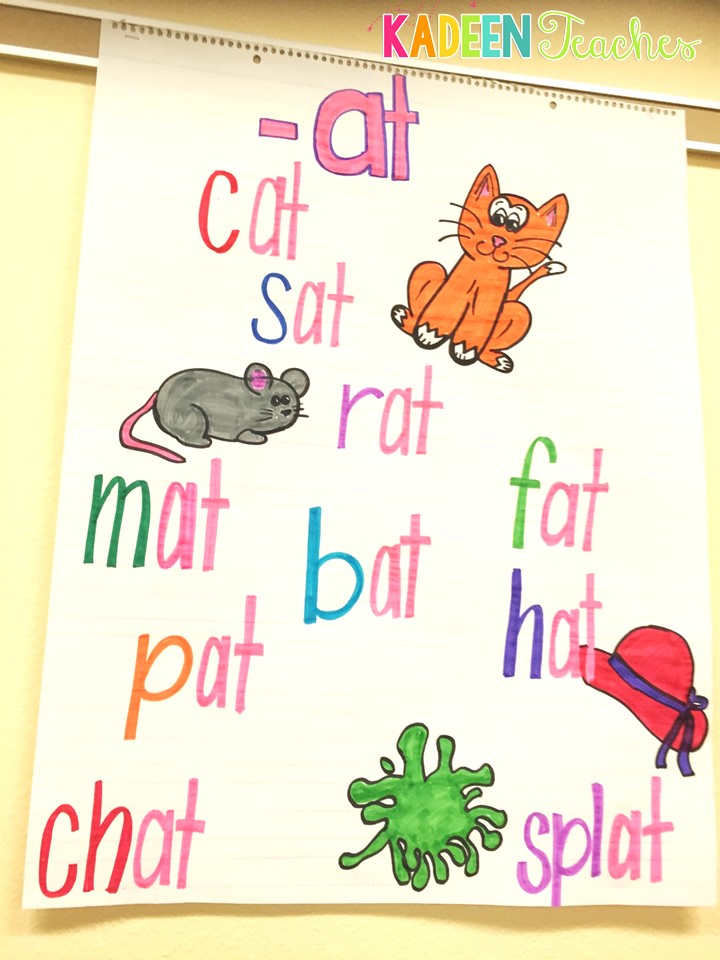
or using your anchor charts to review a specific sound and then sending students off to work on their mats. A lot of my anchor charts are right above my small group table so it’s easy for me to just point and review with them from there. Reading in context is so important and that’s exactly what the phonics interactive mats focus on .
.
If you are looking for something fun and engaging for your students, this is definitely something you want to have in your toolbox.
I have so many pictures to show you all but we have many more phonics tools to get to.
# 2: Phonics Box
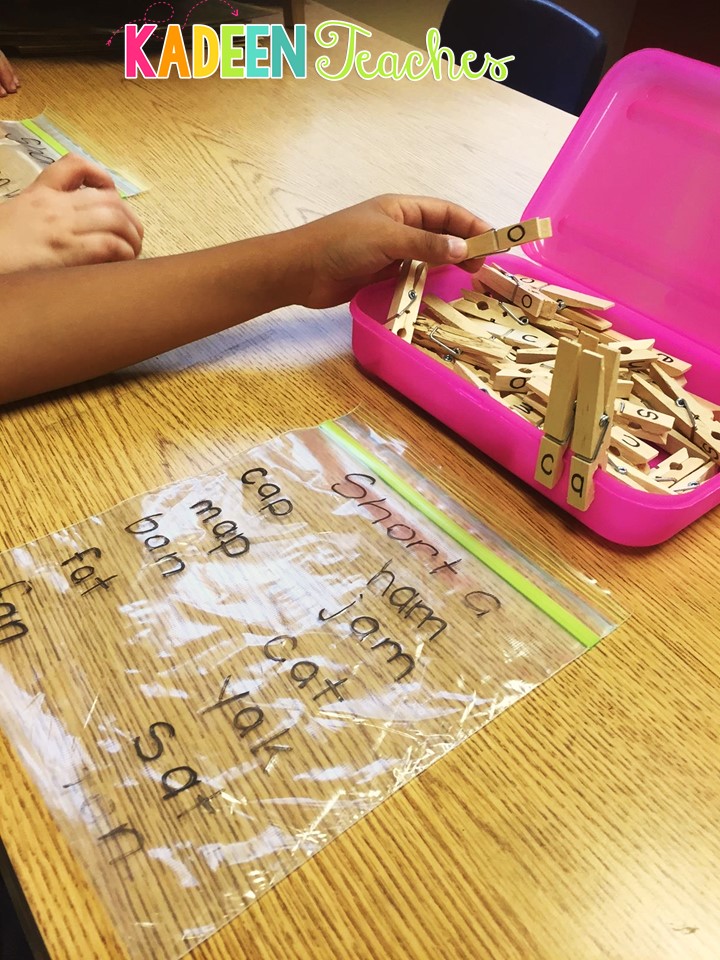
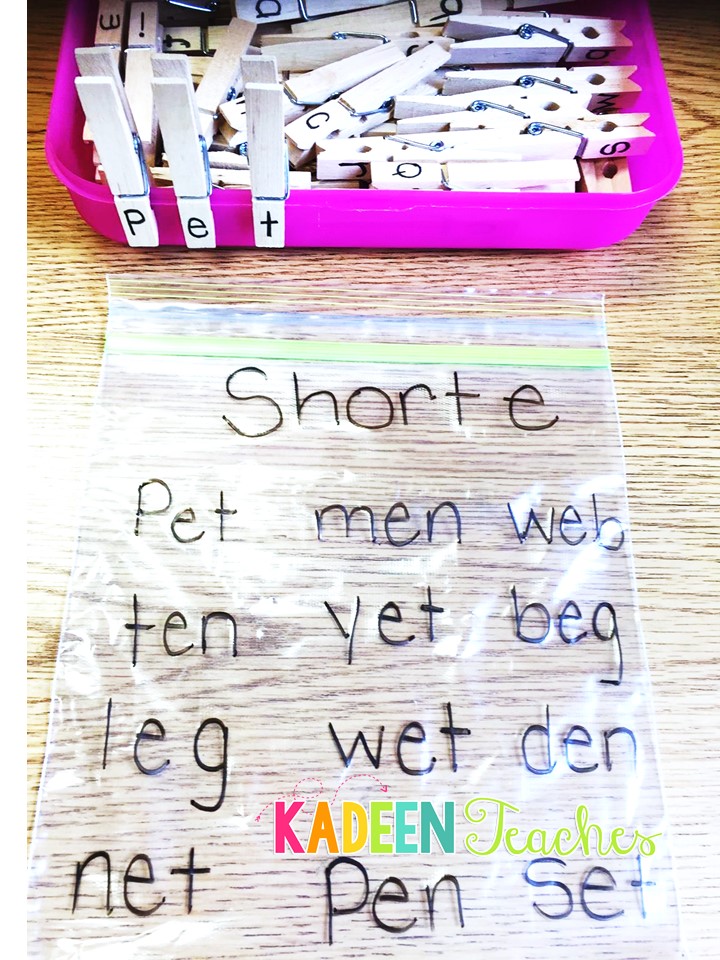
This little idea is so cute and easy to implement. You can use it as a busy center or a review station. Just use a simple pencil box and pins.
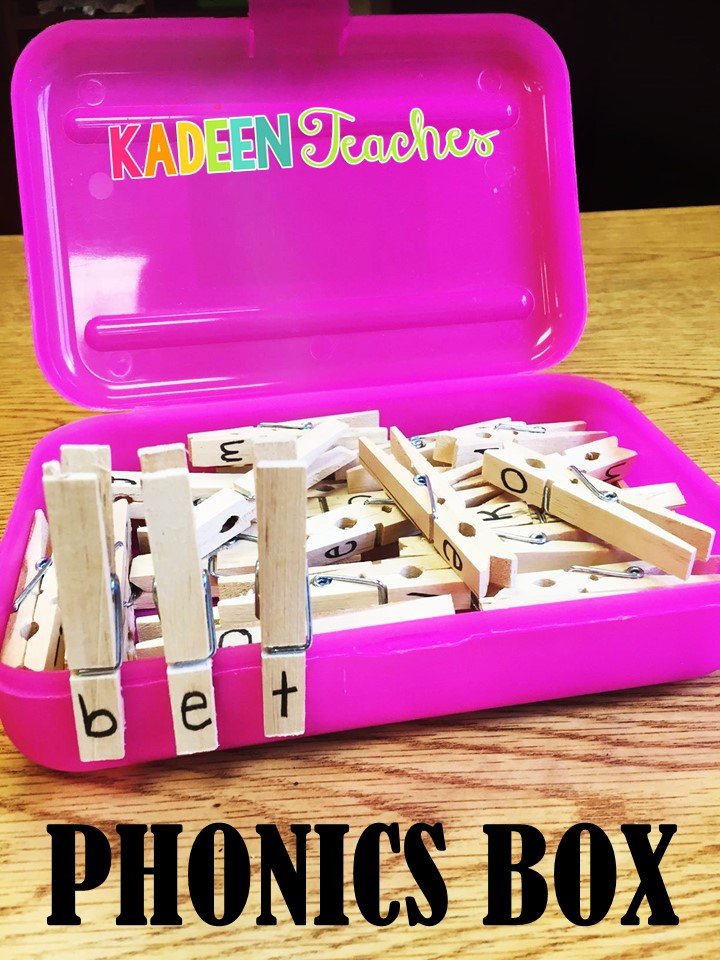
This is a win for the little ones.
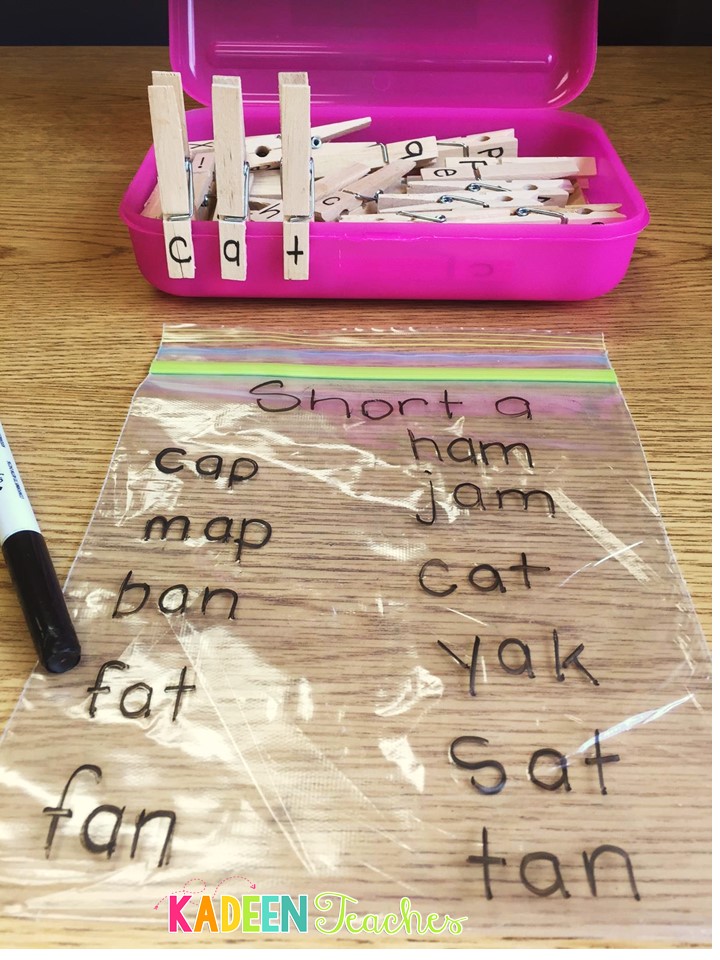
If you teach at home, it is also easy to travel with. They get so preoccupied at this station that they forget to ask me if it’s time for lunch. Just fold up the ziplock bag and tuck it in the pencil box too. They make the words they see on their bags.
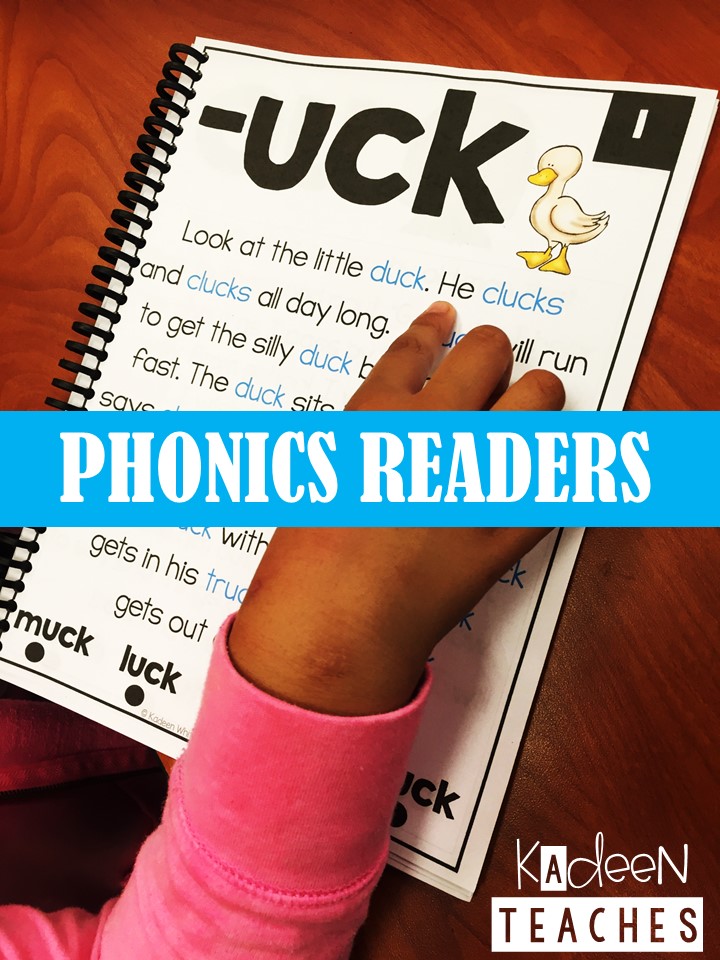
#3 PHONICS READERS
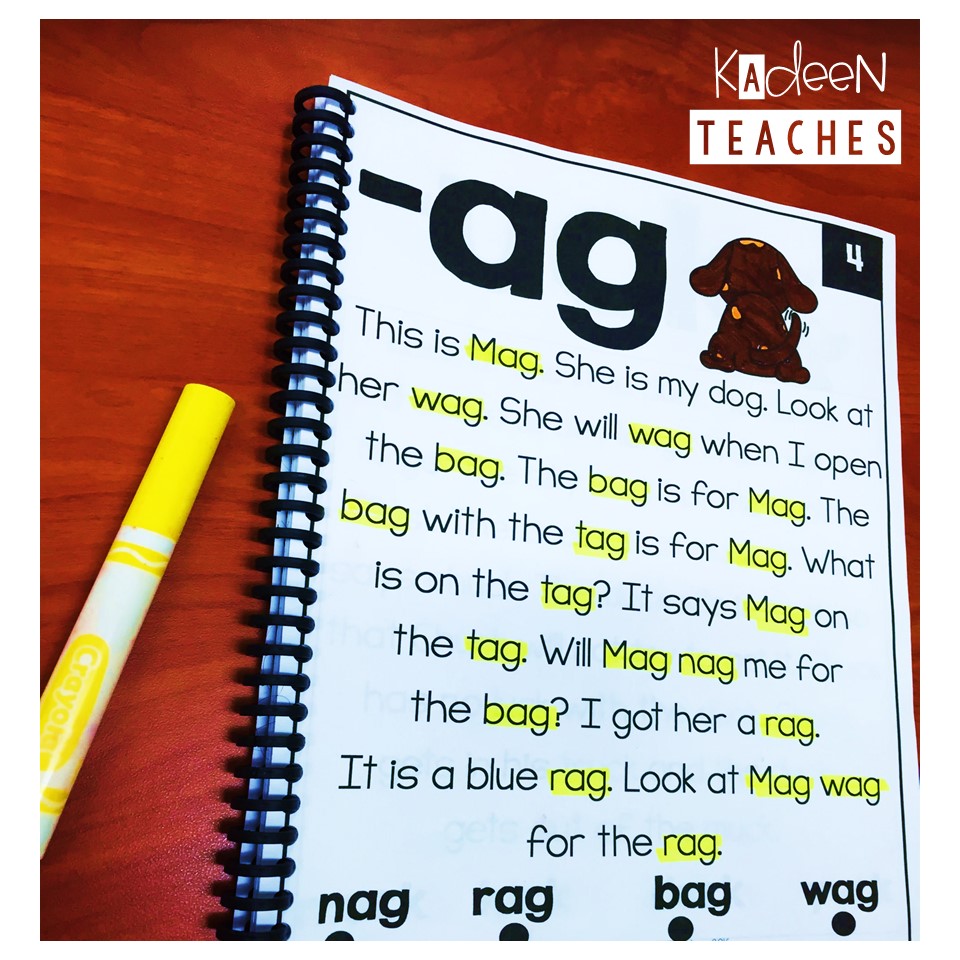
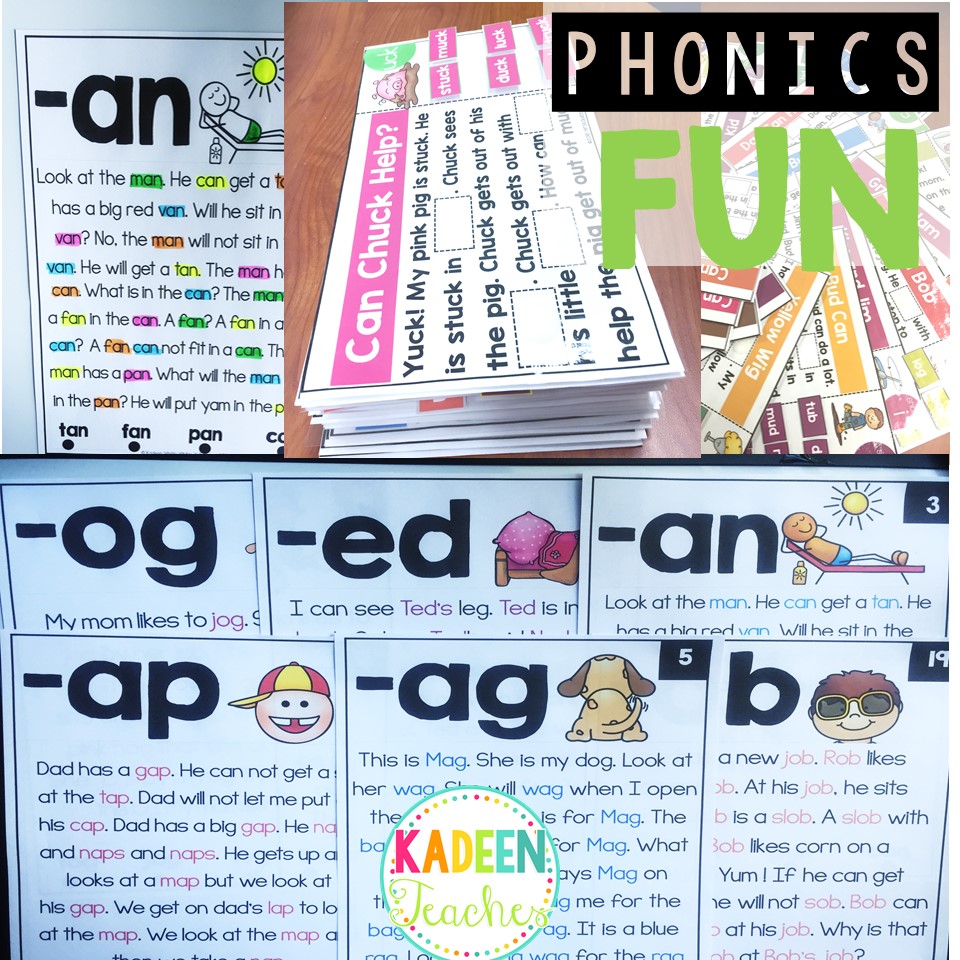
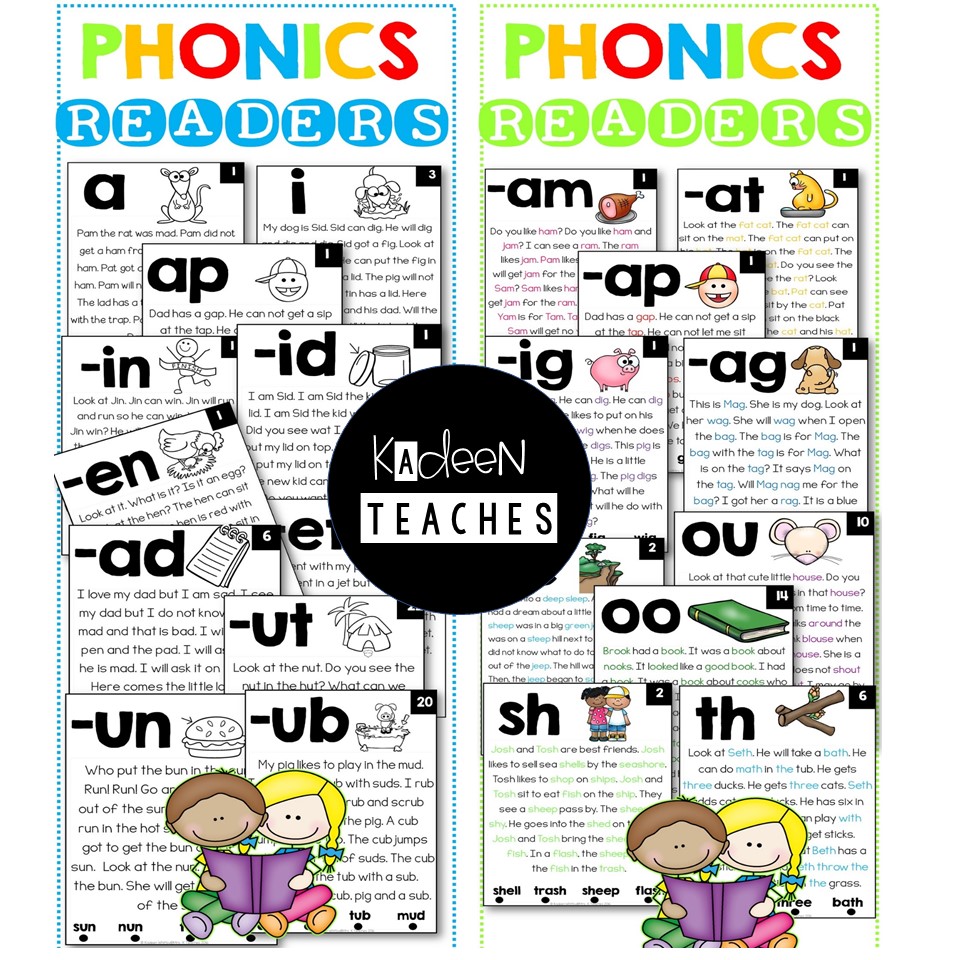
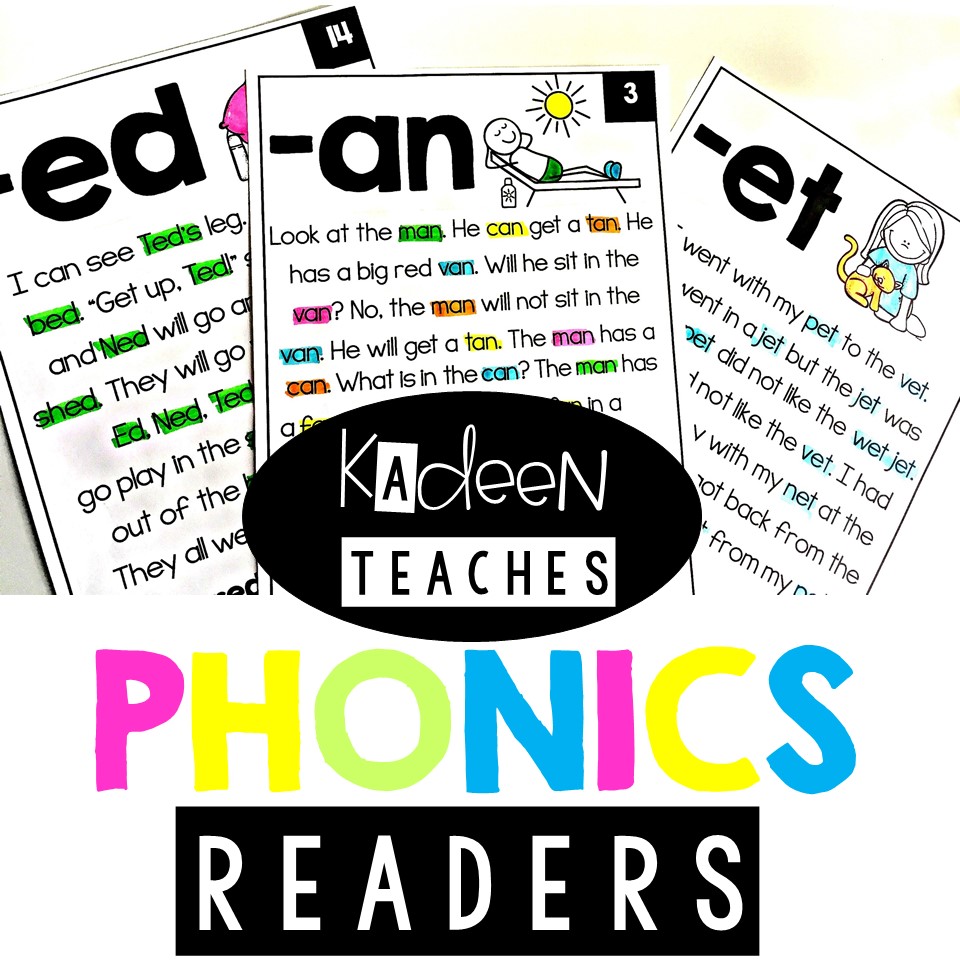
Can I tell you how much of a help these have been all year. They worked out perfect, especially at the beginning of the year. I got so tired of searching for one set of readers that covered all of what we were gonna be learning for the year so I made my own. We have used these throughout the year for so many things.
I had reading materials from several different people which I loved but having this one set with everything I needed, worked out perfectly.
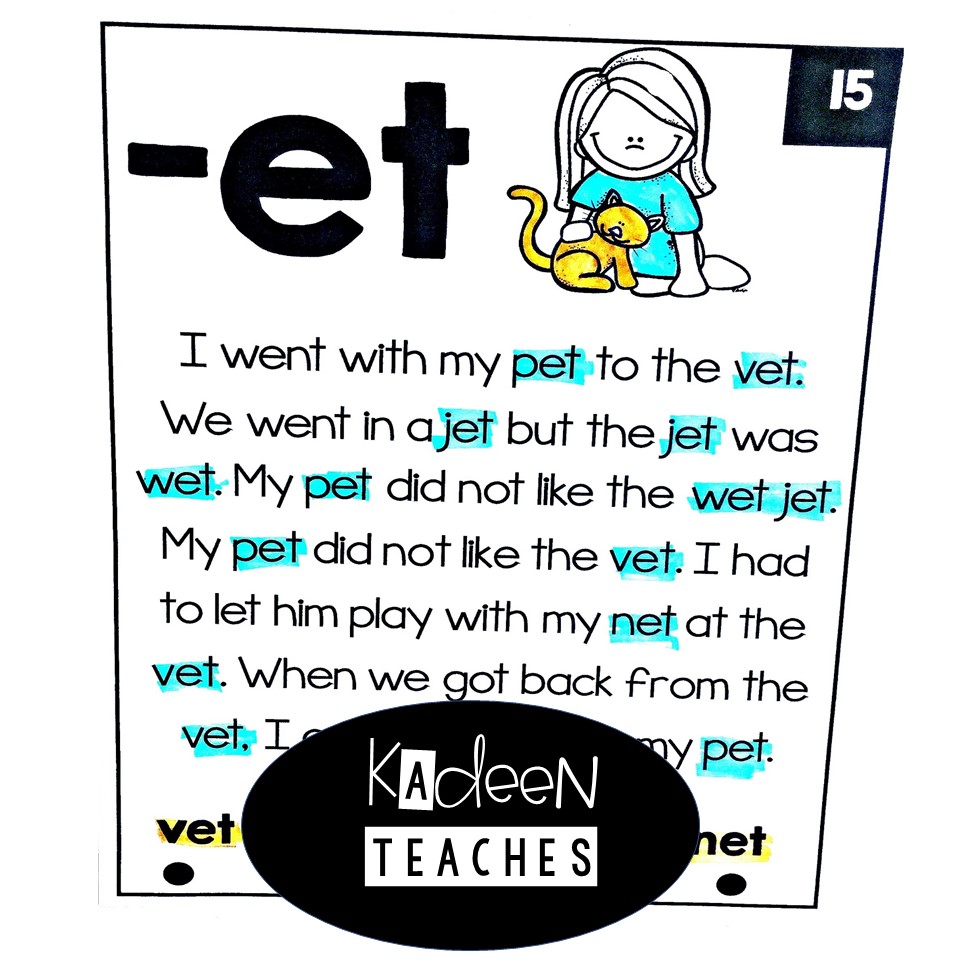
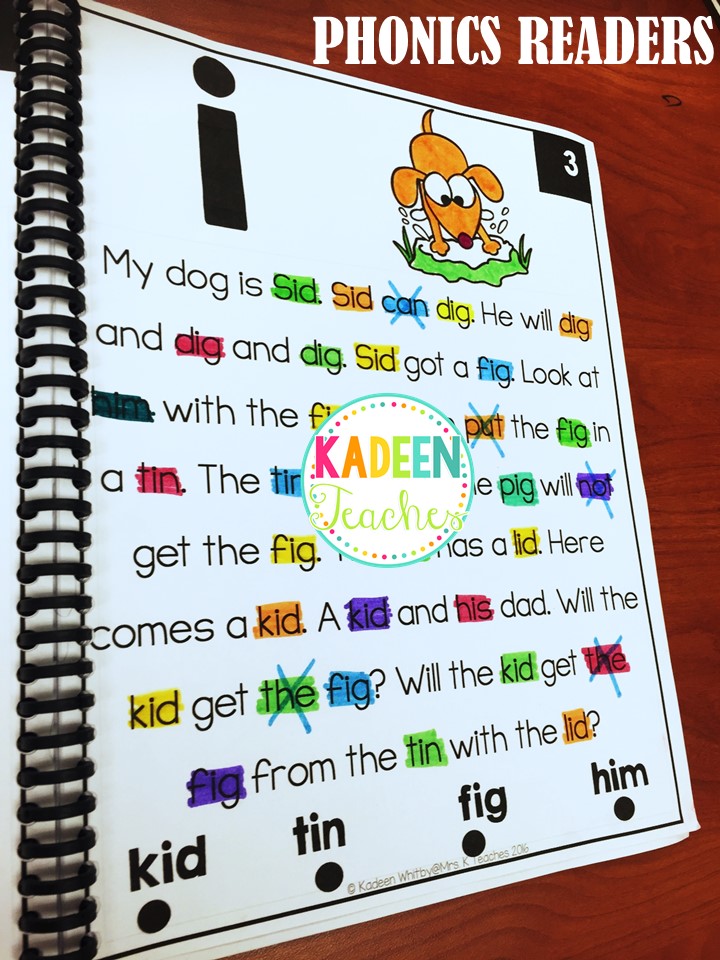
These easy readers are great for beginners. They can read the stories over and over and highlight the patterns within the story.
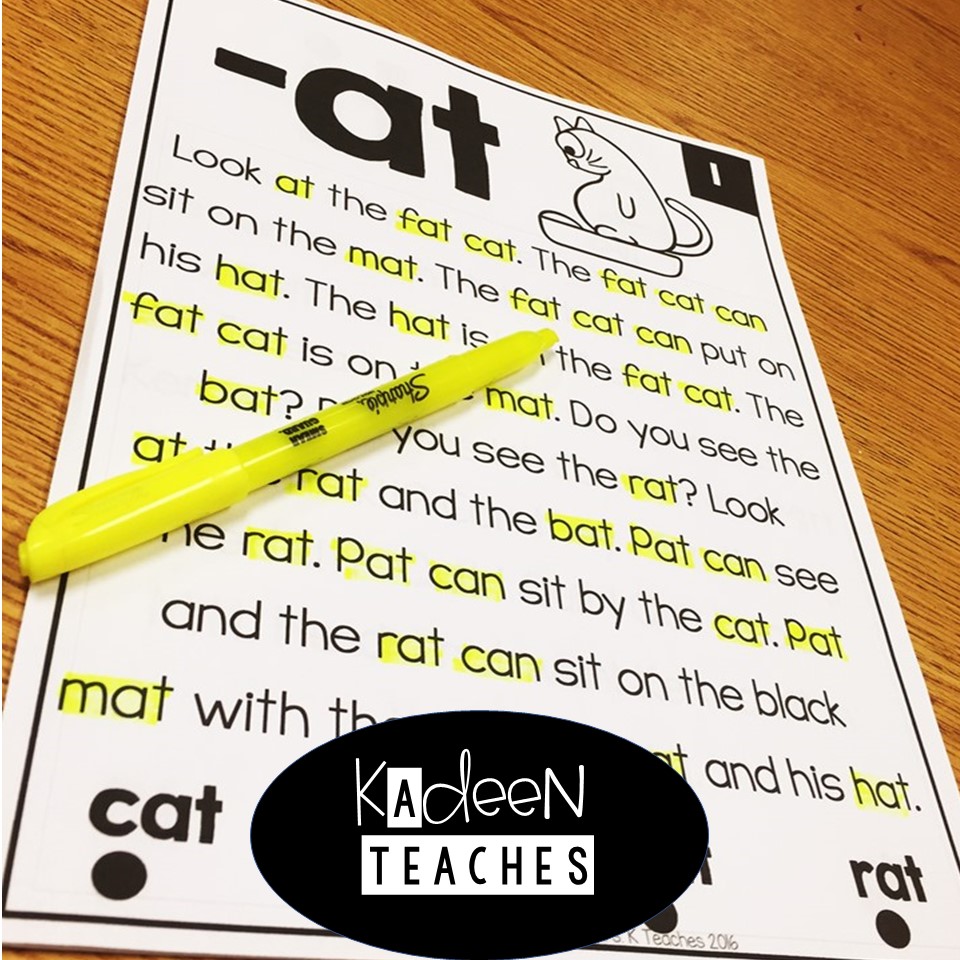
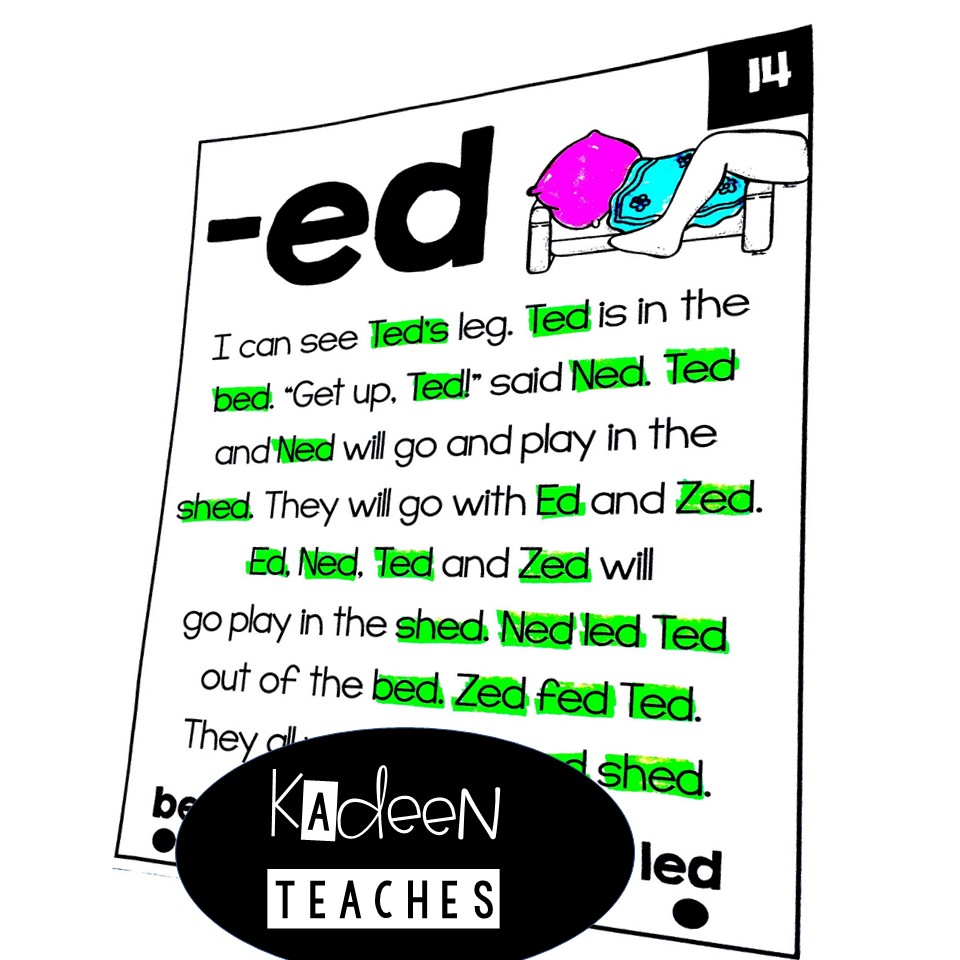
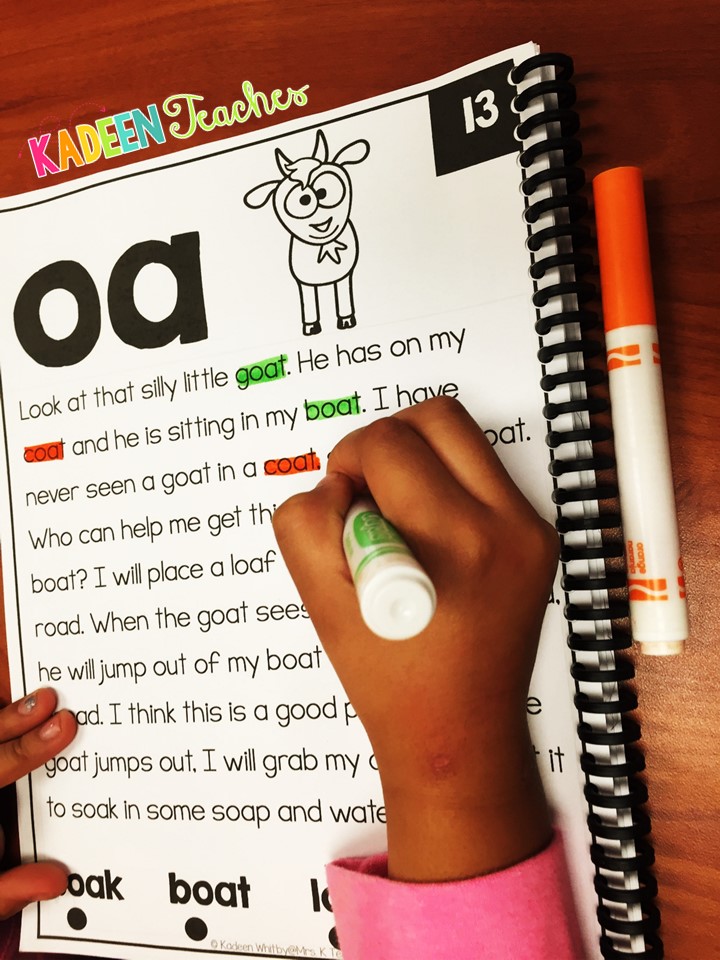
To have all these readers in one place has made life so much easier. I just pull whatever sounds we are working on that week and go.
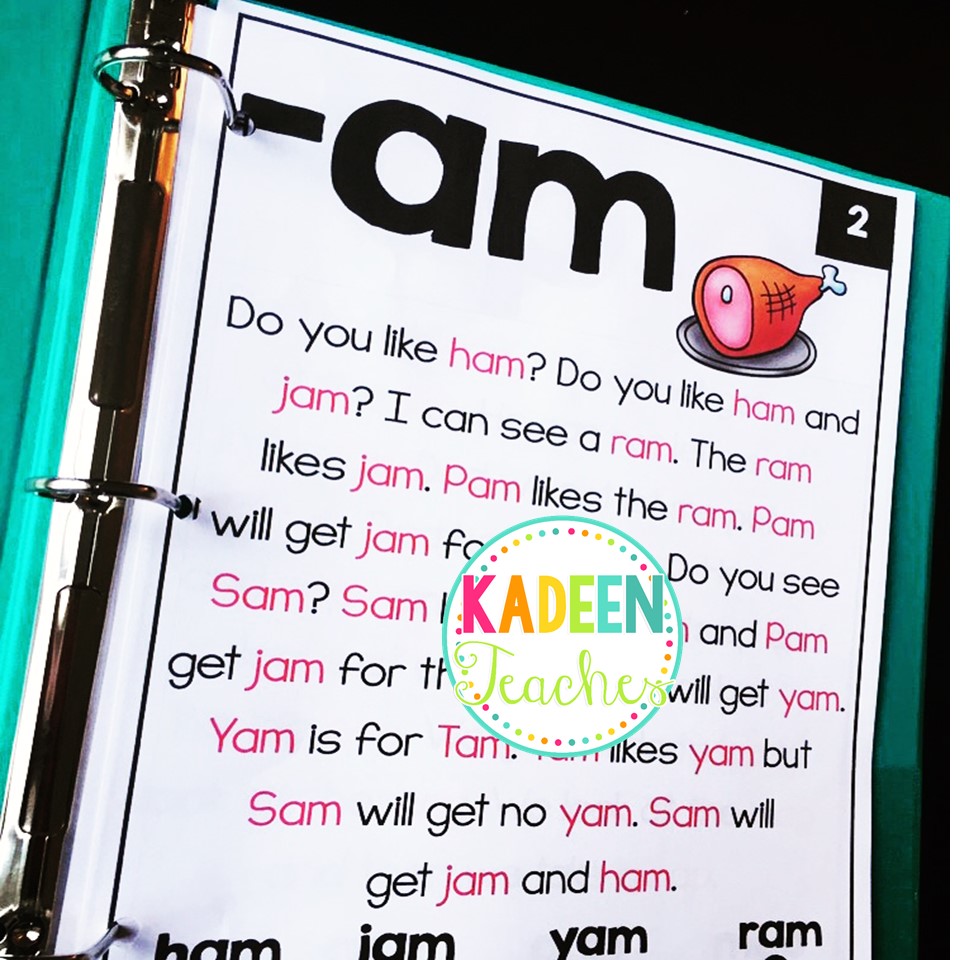
This is a great grab for any primary classroom. I have tons of pictures I want to show you guys of these in action.
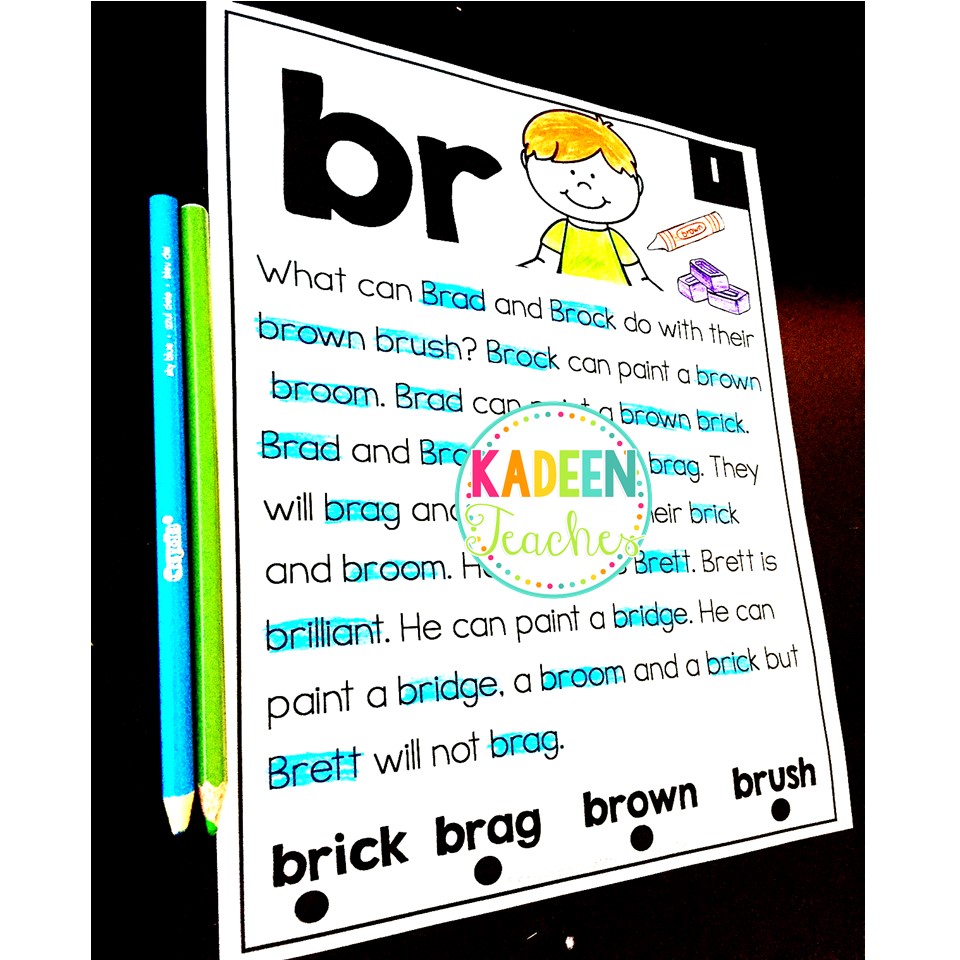
The kids love to rainbow color the target words. Here we also crossed out words that didn’t have the short I sound.
These have also been sent home for homework. While we had a math homework component in our curriculum, we didn’t have anything for reading. The bundle also includes the cover options so that you can prep them however you would like.
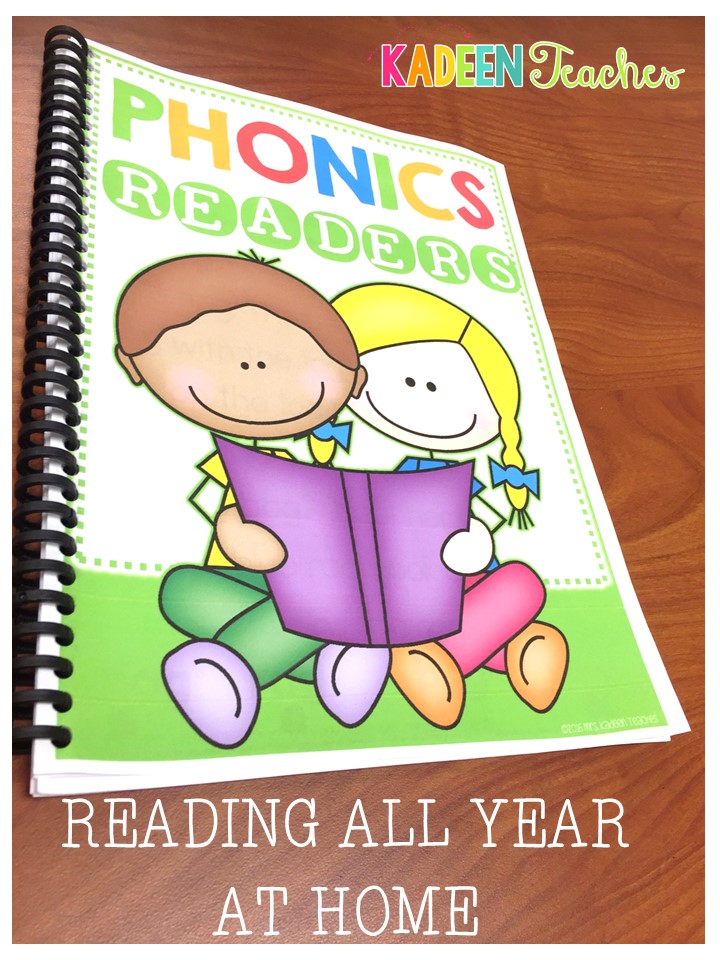
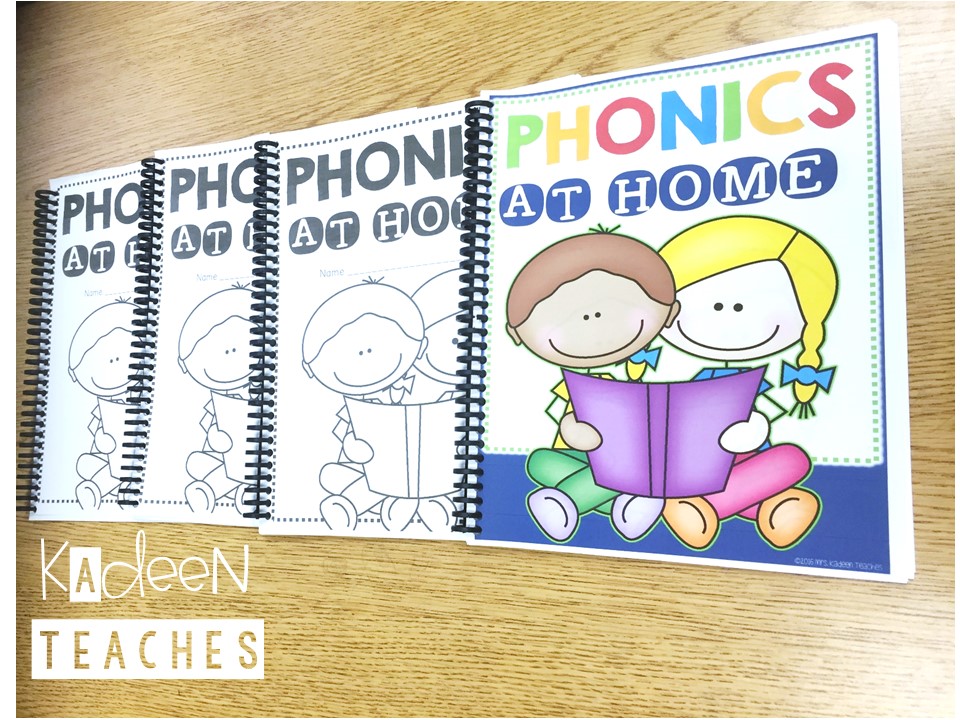
You can bind these into book format for homework or even end of year review. Super excited about these. Place in free centers, send home for homework, create a phonics book, use in small group as part of your small group routine.
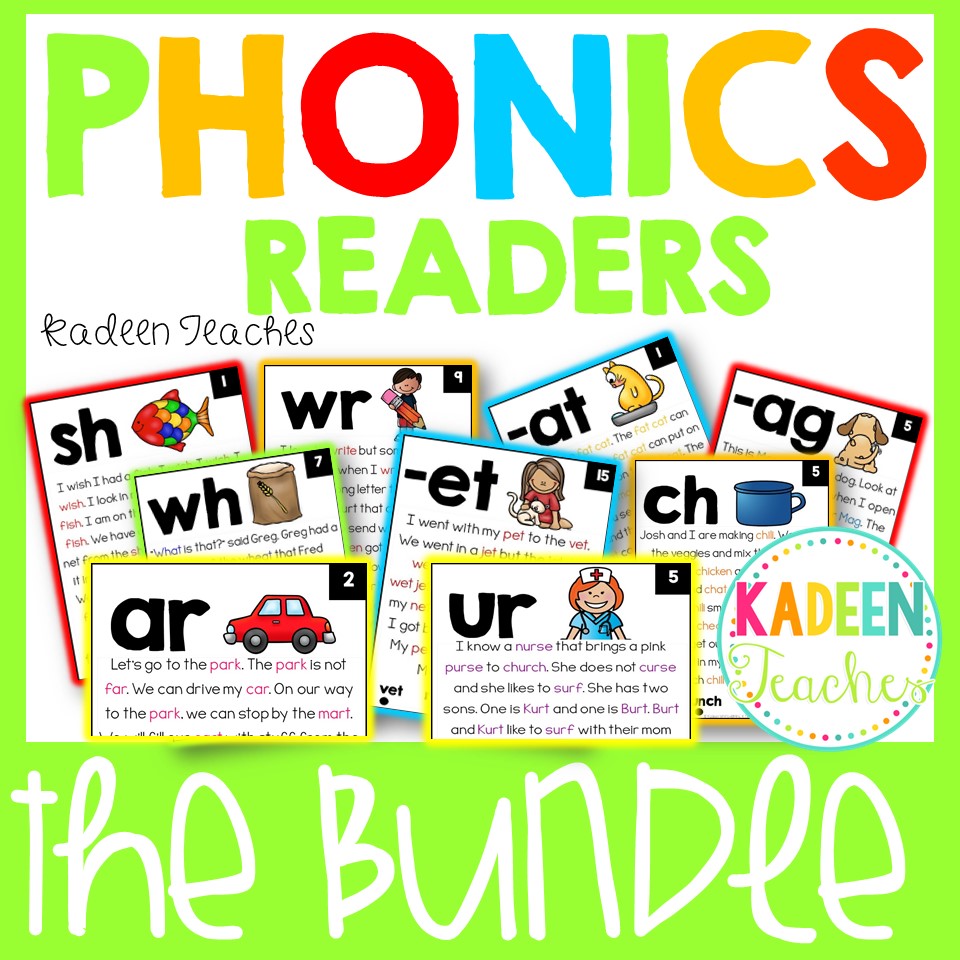
Get the entire bundle of readers from short vowels to diphthongs and inflectional endings in this one set. All files come with color and black and white. Phonics Readers Bundle
# 4 -TRASH IT
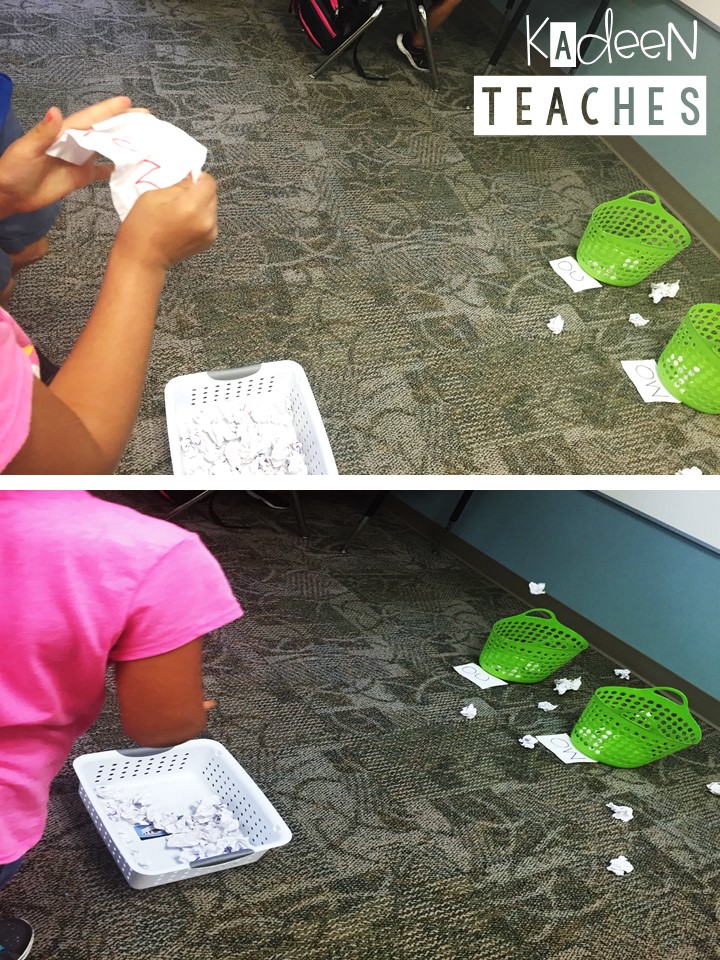
Kids love the silliest things. Don’t you just love it when you come up with some silly game off the top of your head because everybody needs a break from the regular routine. Well I give you …”TRASH IT”. We came up with this fun little phonics game at the end of the year to have some fun while reviewing our phonics sounds.
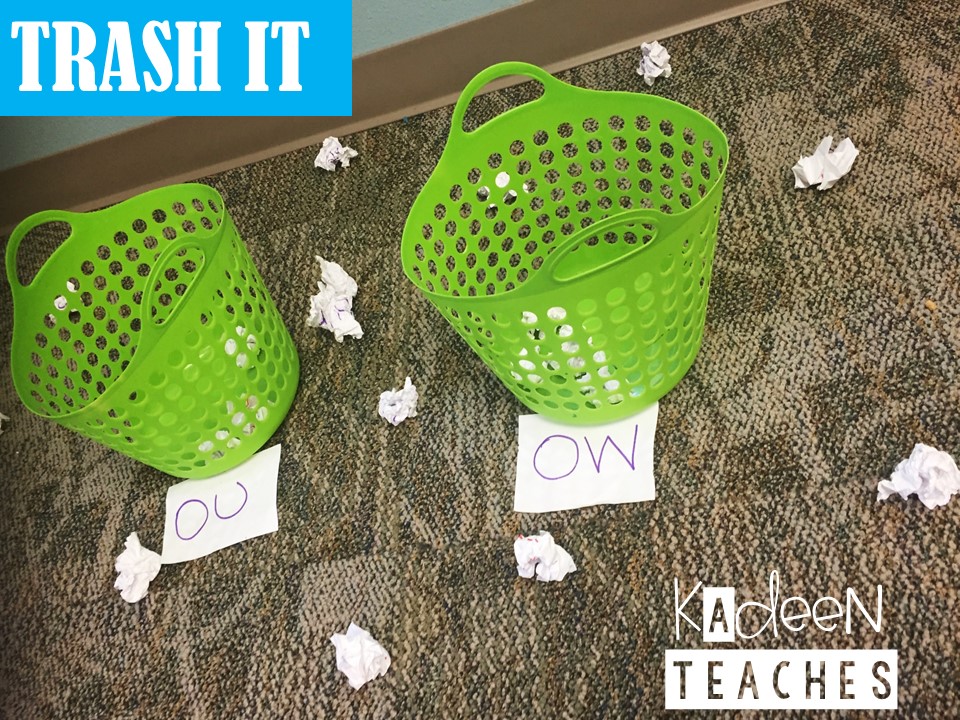
So simple and so fun. They keep asking to go to this center. They love getting up to throw stuff away and so… I decided they can learn while throwing stuff away at the same time.
Step 1: What sounds are you working on? Write some words on simple computer paper.
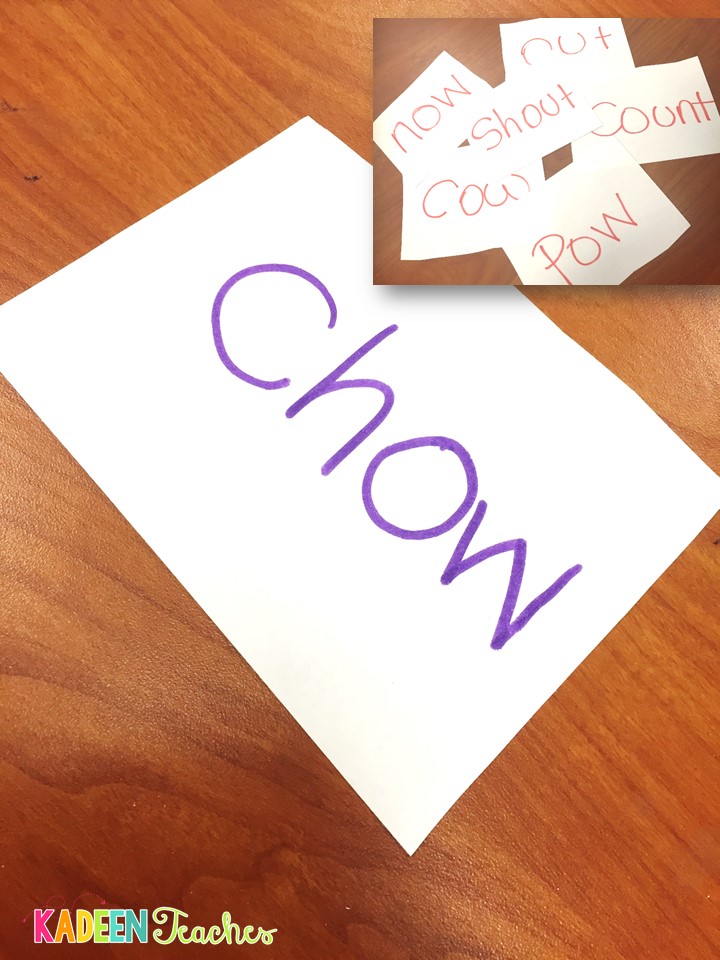
Ball them up and place into a big bin.
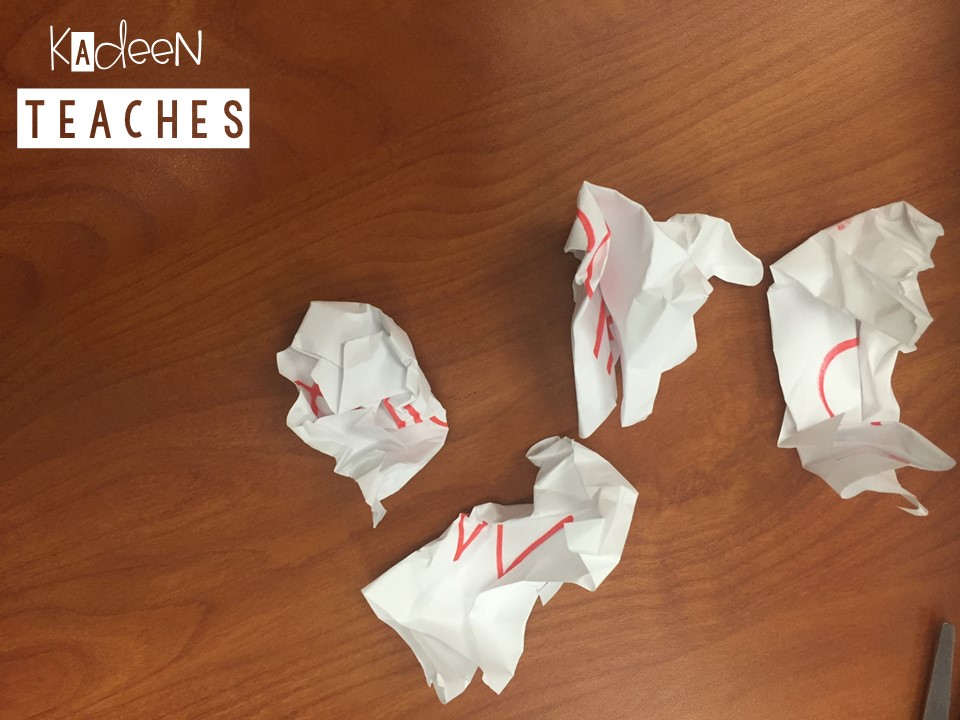 Two students at a time go to sort the trash by opening up a rolled up paper, reading the word correctly and throwing it in the right bin. Students stand at a distant from the trash bins, read the word correctly and then roll it back up and try to get it into the correct bin. Take tallies of which student get the most words into the bin. If they miss the bin, the words stay there on the floor until the game is done. They keep picking words from the big bin until it is all gone.
#5-Jumbo Letters
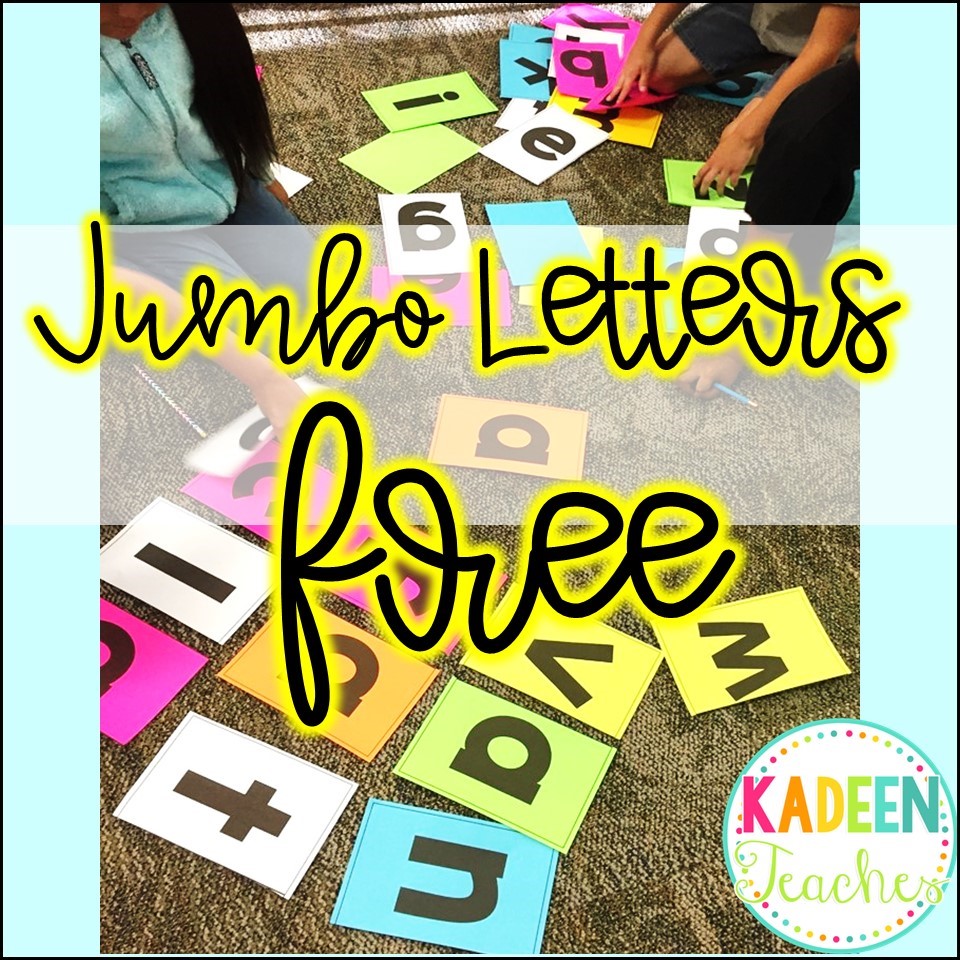
Grab the jumbo letters template and recording sheet for free by clicking on the picture below.
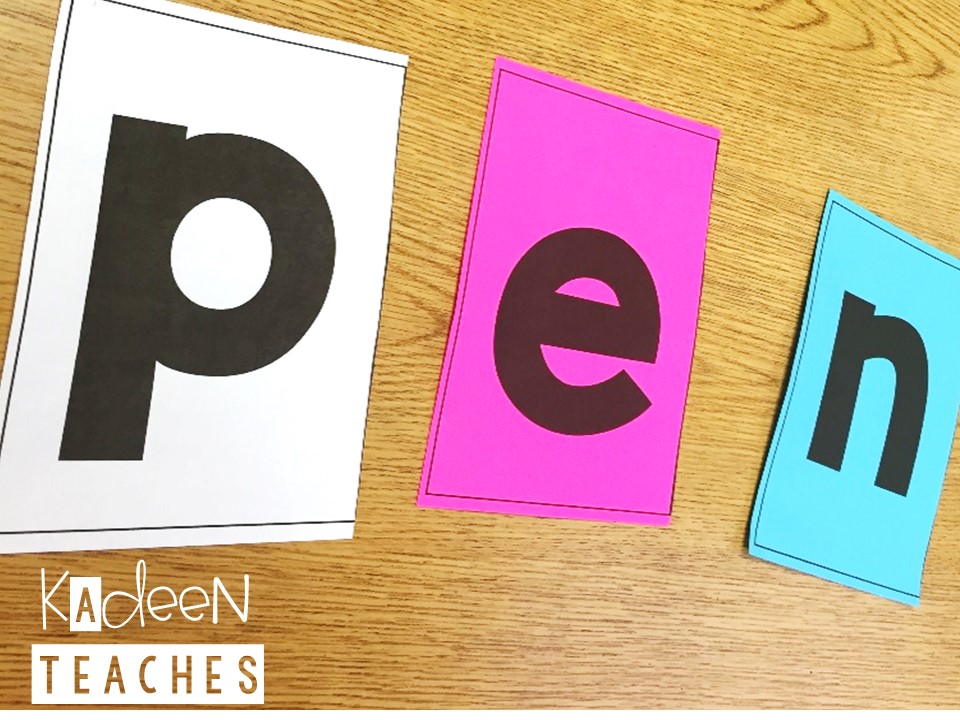
This next phonics center is so super easy and lots of fun. I printed these big letters on cardstock and students use the answer sheet to record the words that they make. Get the free template by clicking on the link above.
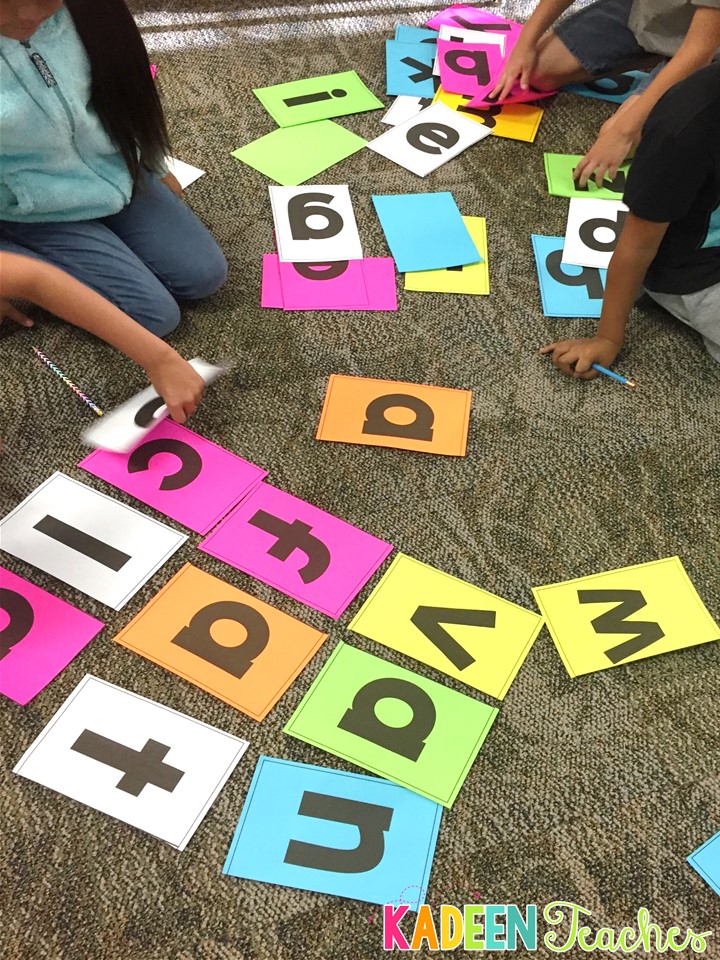
This center was done at the end of the year but can be implemented at anytime.
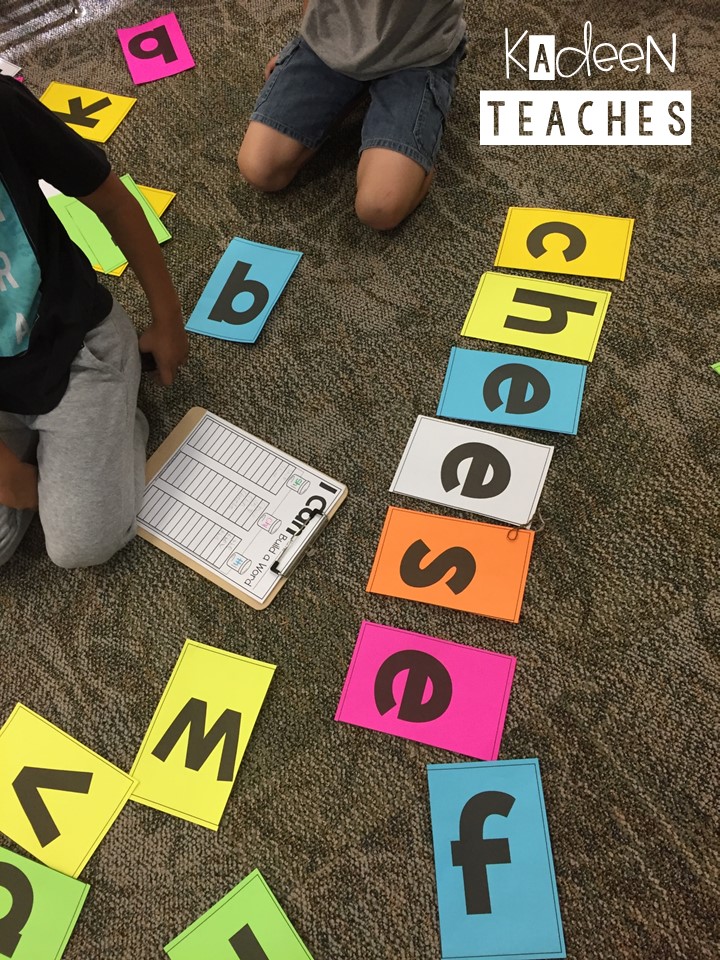 Use them on the carpet or at your center table. The recording sheet is easy to use. You can just write what word patterns you want them to make on the recording sheet.
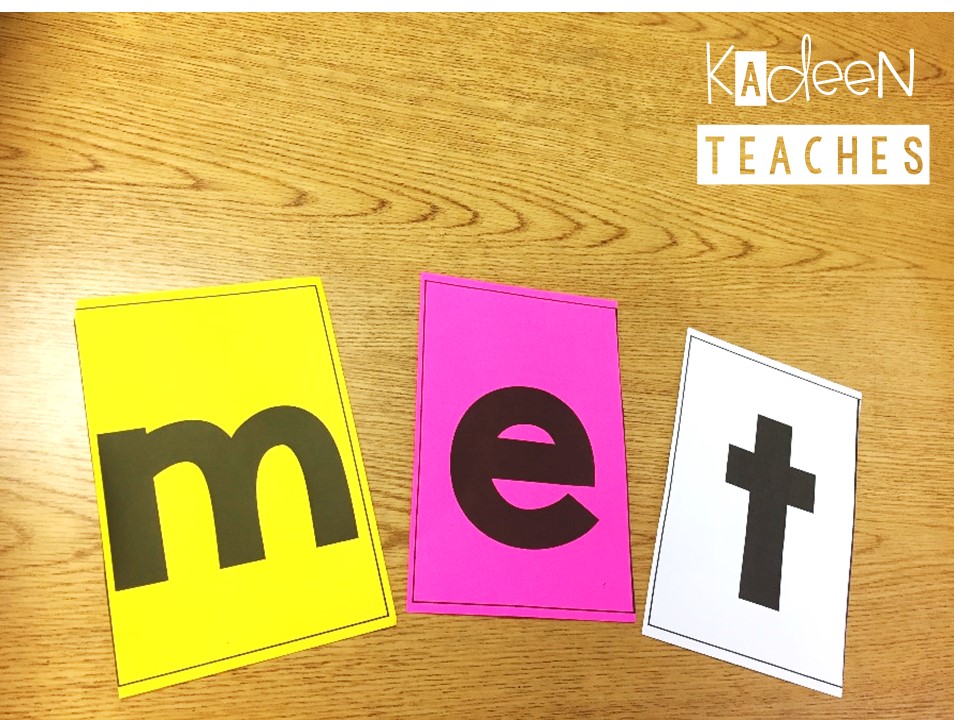
These big and bold letters make for a fun phonics center.
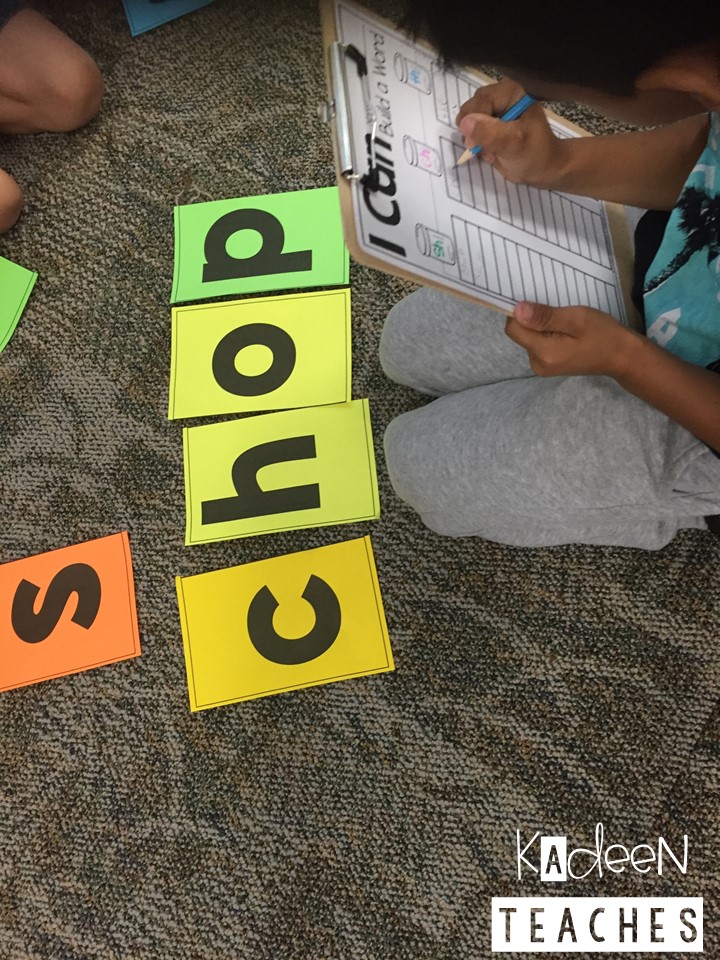
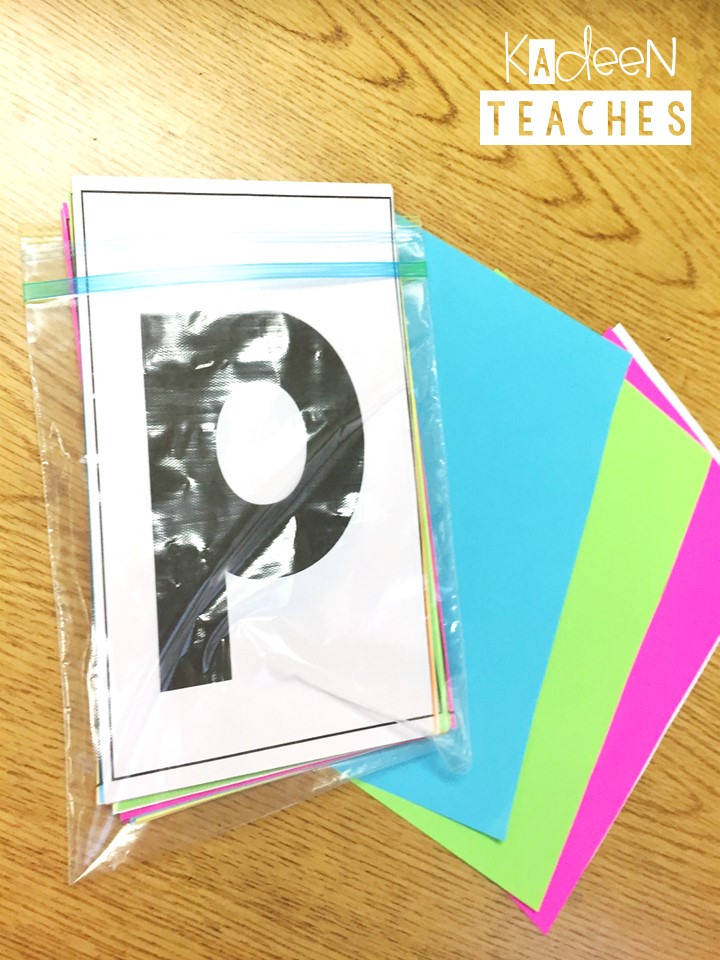
I just simply store these in ziplock bags so they can grab and go.
#6- PHONICS FLUENCY CARDS
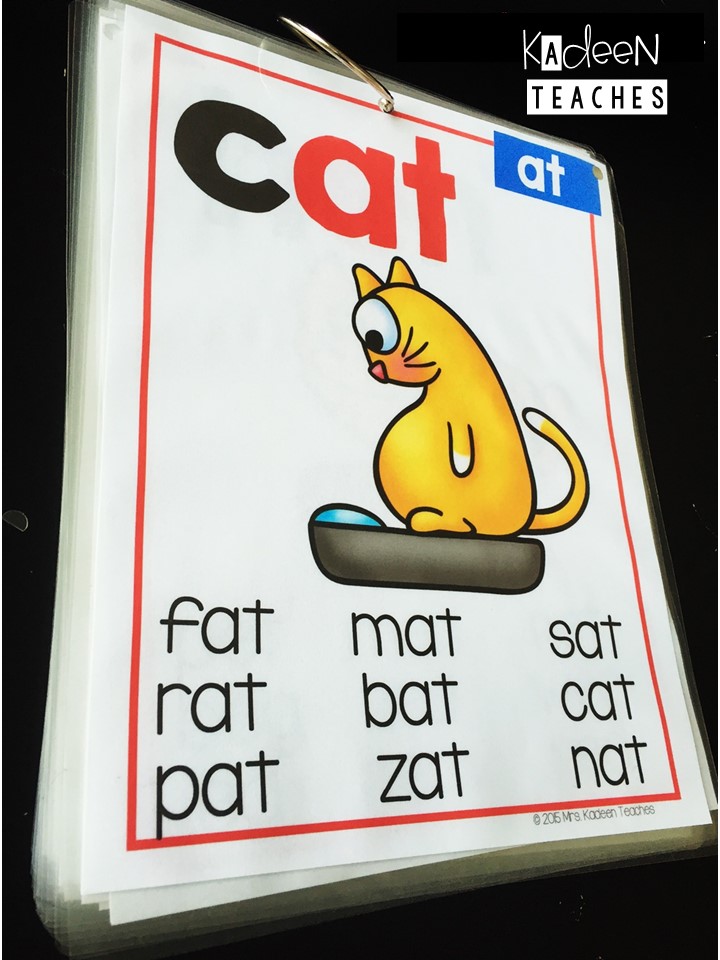
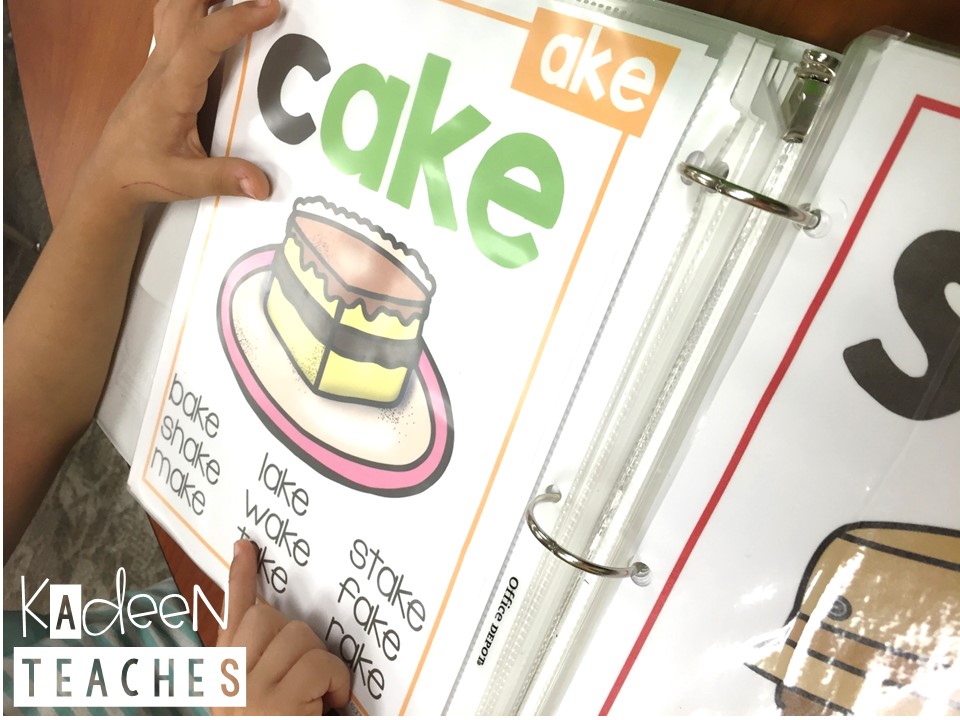
The Phonics Posters Mega Bundle is a must have for any primary classroom. Especially at the beginning of the year. This super bundle includes all the sounds we teach in first grade. I’ve used them in so many ways. Below are some examples of how they have been used.
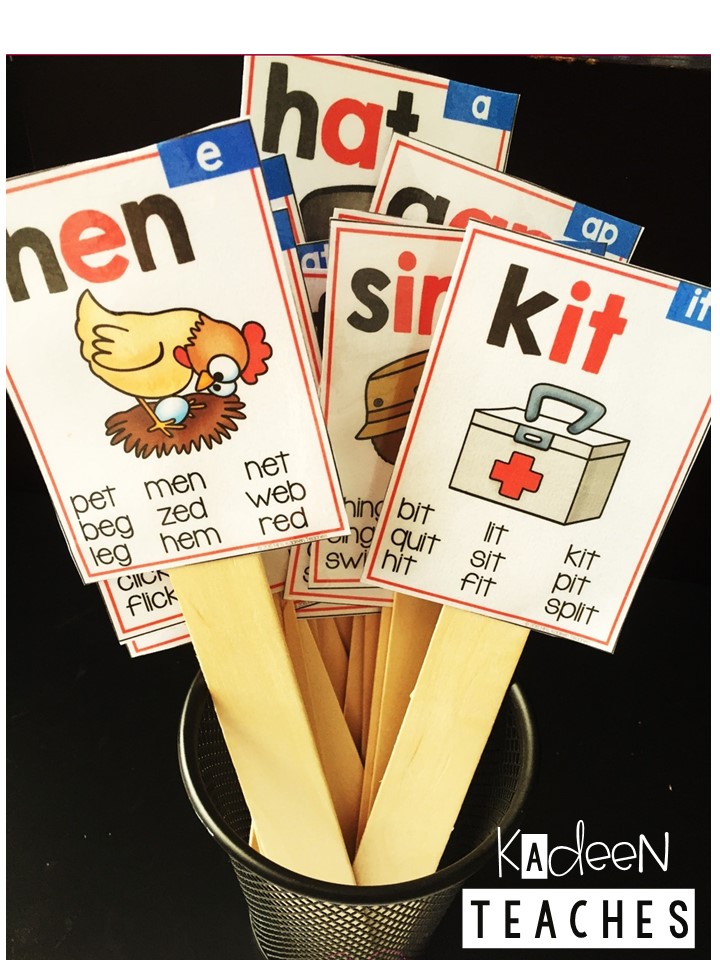
Center Sticks- I reduced the size of the large posters and used them as center sticks. The kids pick a stick, read the sounds and words. They rainbow write the words in their notebooks. The higher group writes sentences with the words in their notebook.
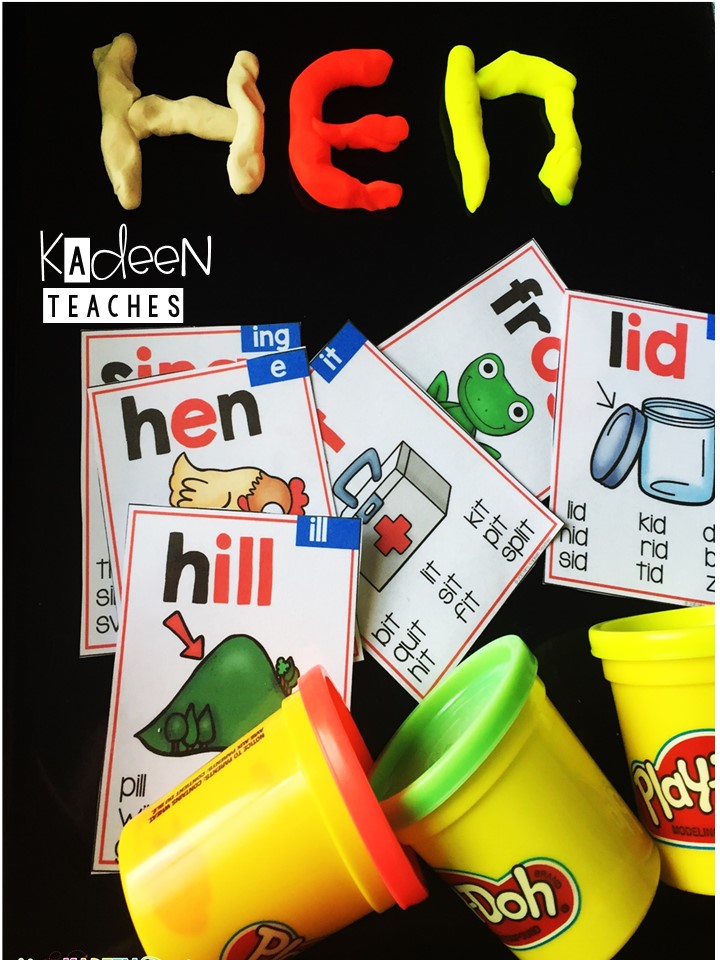
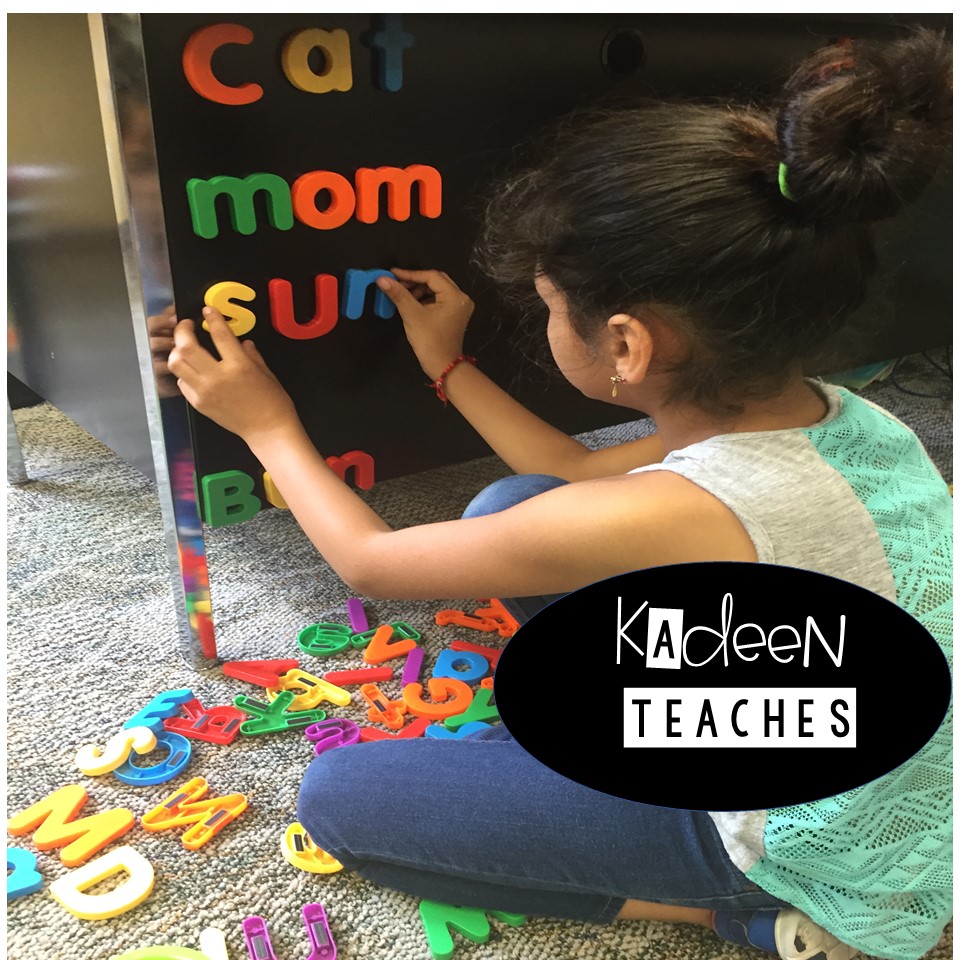
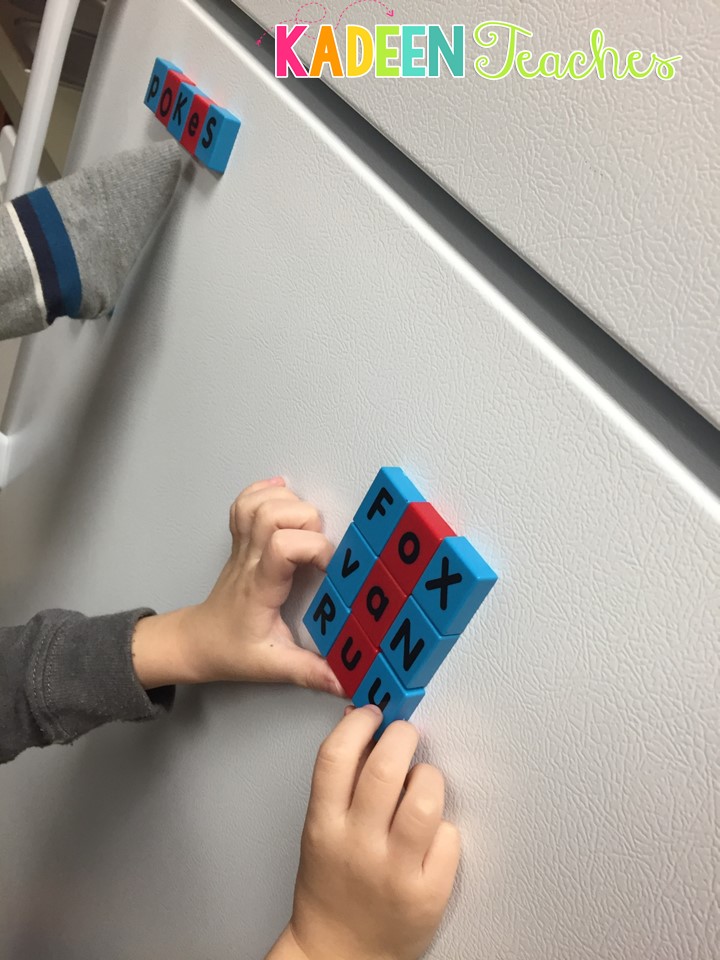
They can even make the words with Play-Doh or use the magnetic letters to write the words.
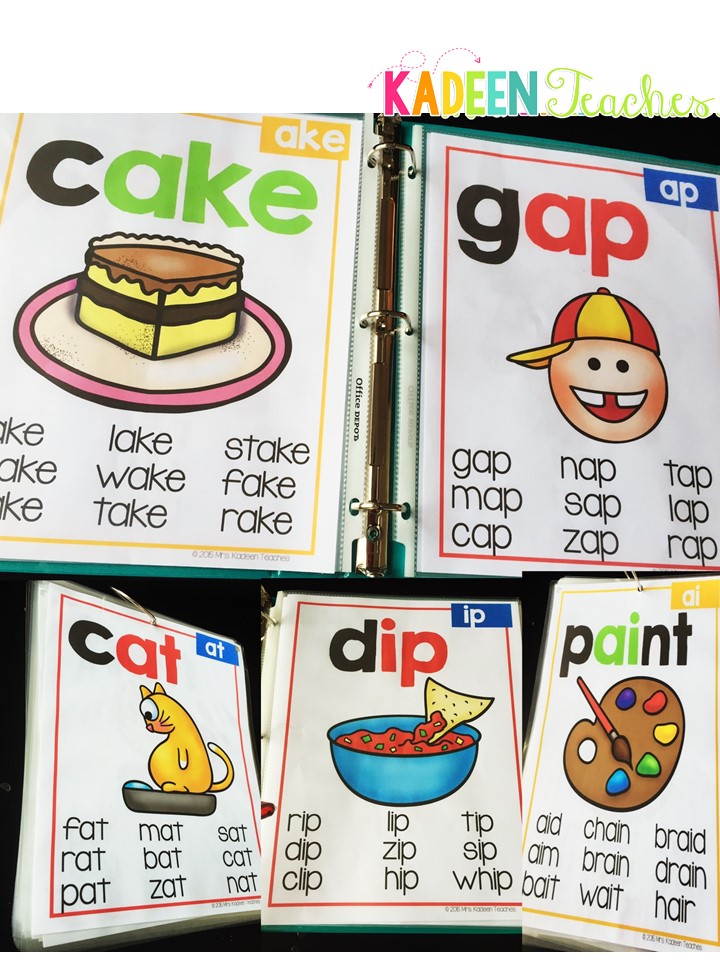
Wall Display
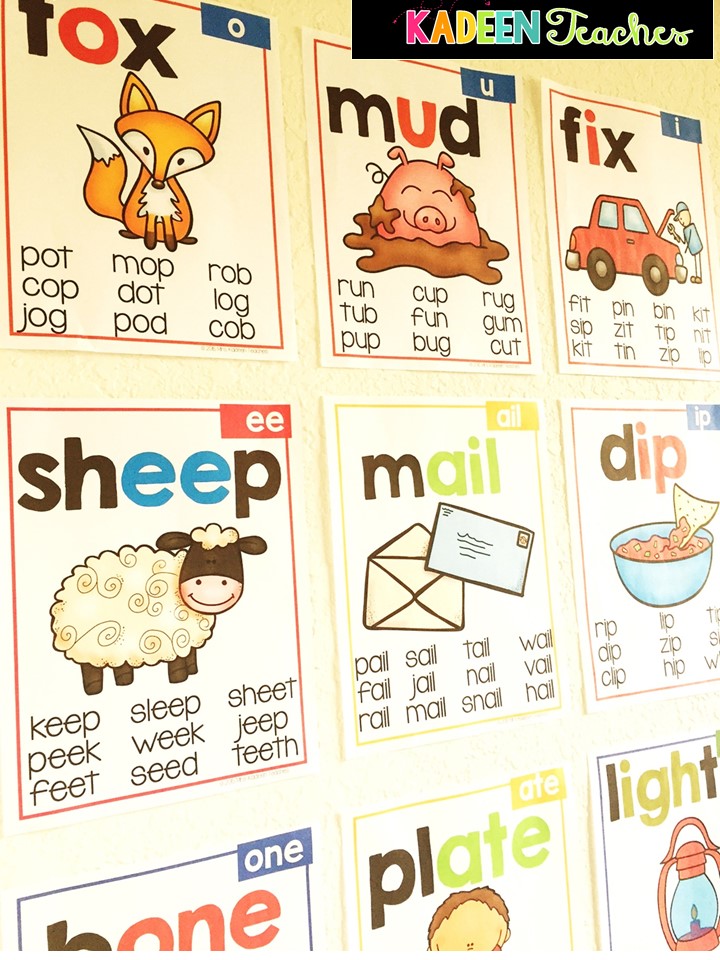
These can also be posted up within your classroom.
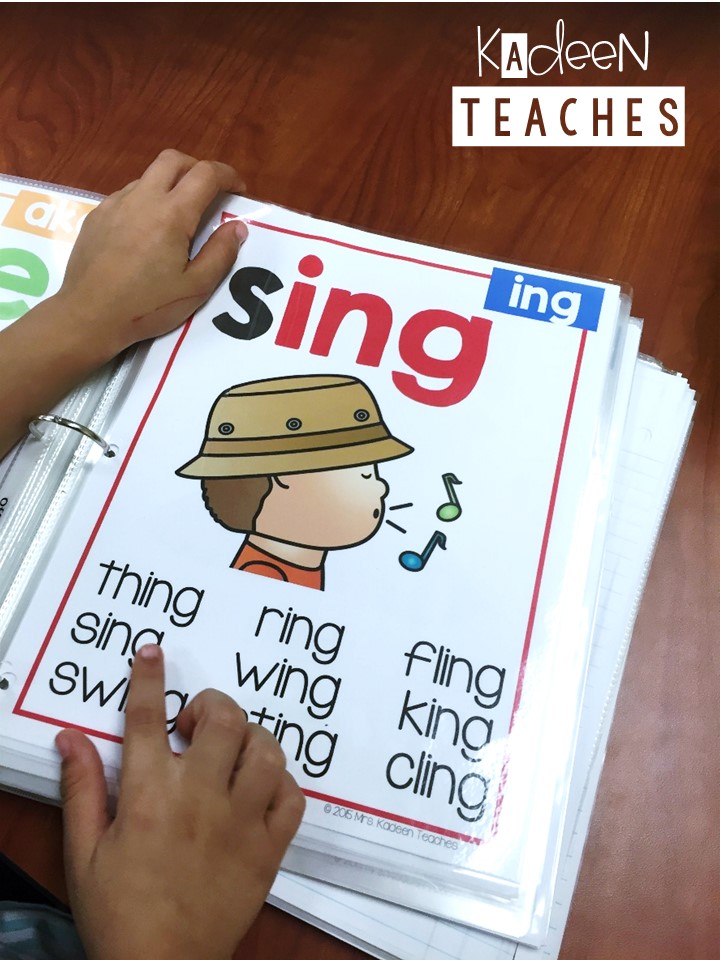
 Let me tell you, these are number one at my small group center.
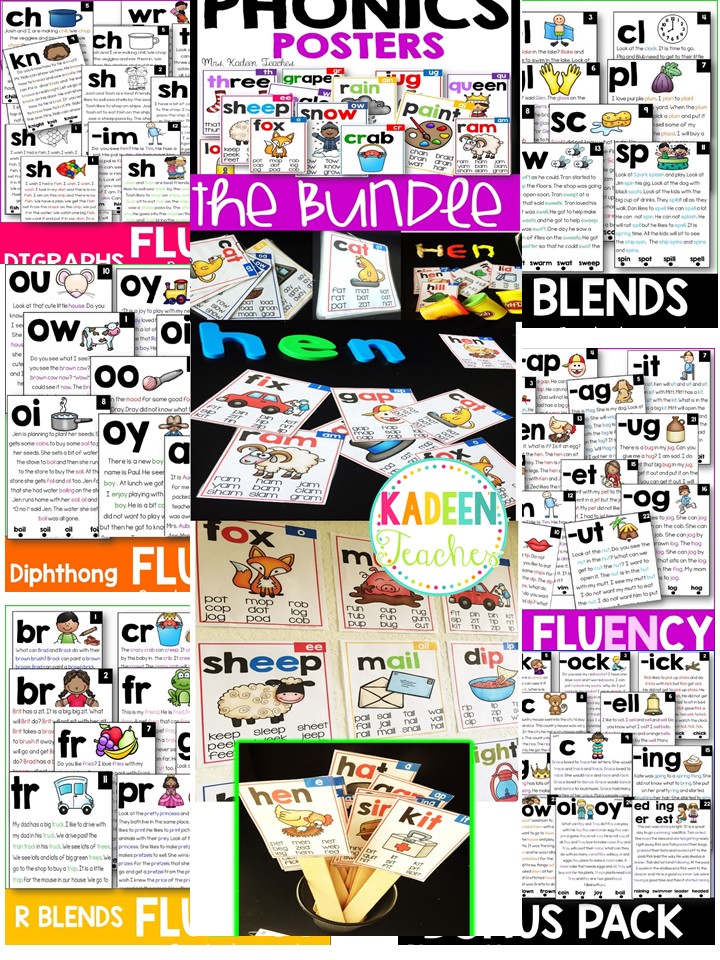
Want to get all these and more? Take a look at the Wow Kit 3. This kit includes 13 great reading resources. Click on the picture below to check it out. There is also a 15% discount on this bundle.

Do you have the recording sheet for the Jumbo letters?
Get the Jumbo Letters template here:
https://www.teacherspayteachers.com/Product/Jumbo-Letter-Template-3594729
WOW ! I guess I am the third to ask about the jumbo letters !!!
You can find them here: https://www.teacherspayteachers.com/Product/Jumbo-Letters-Template-3594729
Thank you so much….I have a student with limited visual ability…these will be awesome for her.
So happy these will help your student.
Hi! fabulous ideas! Do you have a printable for the jumbos?
I do not have the original but I made them over since I have gotten request for them. Will have them up on TPT tomorrow 🙂
Love all of these! Do you have a printable for the jumbo letters?
So happy you love the ideas. I made them over since I do not have the original file anymore. I will post it up tomorrow for everyone who asked.
Great ideas!
Thank you. Glad you like the ideas.
Hi do you have the template for the Jumbo letters.
Hi, I apologize for taking so long to reply. I did not see this. The template will be on TPT tomorrow. I do not have the original so I created it again.